
Time of year: mid August, Thursday to Saturday
Doing a multi-day hike with over 1000 m elevation gain during a heat wave, at the beginning of our periods: good idea? GREAT idea! I’ll admit the timing wasn’t the best, but the experience more than made up for it. The vibrant, refreshing lakes at the top, mountain views, waterfall climbs, and forest trails along the way, and the river-side campsite made this one of my most memorable hikes.
According to AllTrails, the Elk River Trail is a 21.2 km round trip to Landslide Lake, plus a bit more to get to Berg/Mt. Colonel Foster Lake. AllTrails is a great resource if you want to read about multiple peoples’ experience on the trail, including tips and current information. Some parts of our hike were a bit different from what I’d read – though not wildly so – and as an anxious human I find that the more information I have about a multi-day hike, the better I feel. That’s why I’m sharing a detailed breakdown of each part of the trail, how long each section took us, what we ate and packed, and of course lots of photos! Hiking times will of course vary depending on a number of factors; keep in mind that we were hot, crampy, and don’t hike up mountains every weekend!
Did I miss anything? Leave a question in the comments, I’m happy to help!
Jump to:
Day 1: Trailhead to Campsite #2
Day 2: Campsite #2 to Landslide/Berg Lake
Day 3: Campsite #2 to trailhead
Day 1: Elk River Trailhead to Campsite #2
Timing: Total: 5 hours 10 minutes. Trailhead to Campsite #1: 3 hours 10 minutes; Campsite #1 to Campsite #2: 2 hours.
Food: hummus and veggie tortillas, pepperoni sticks, carrots and snap peas, trail mix (dried fruit, almonds, peanuts, Reese’s pieces, chocolate chips, raisins), 2 Fruit To Go, dehydrated MEC meal (Thai Beef curry), applesauce
Hike: You’ll need to fill out some info and pay cash at the trailhead (parking lot) for backcountry camping. It’s $10 per person per night, and in addition to leaving your info on the envelope, you’ll also need to leave a stub on your dash, and bring a stub with you to give the park ranger when they come by the campsites.
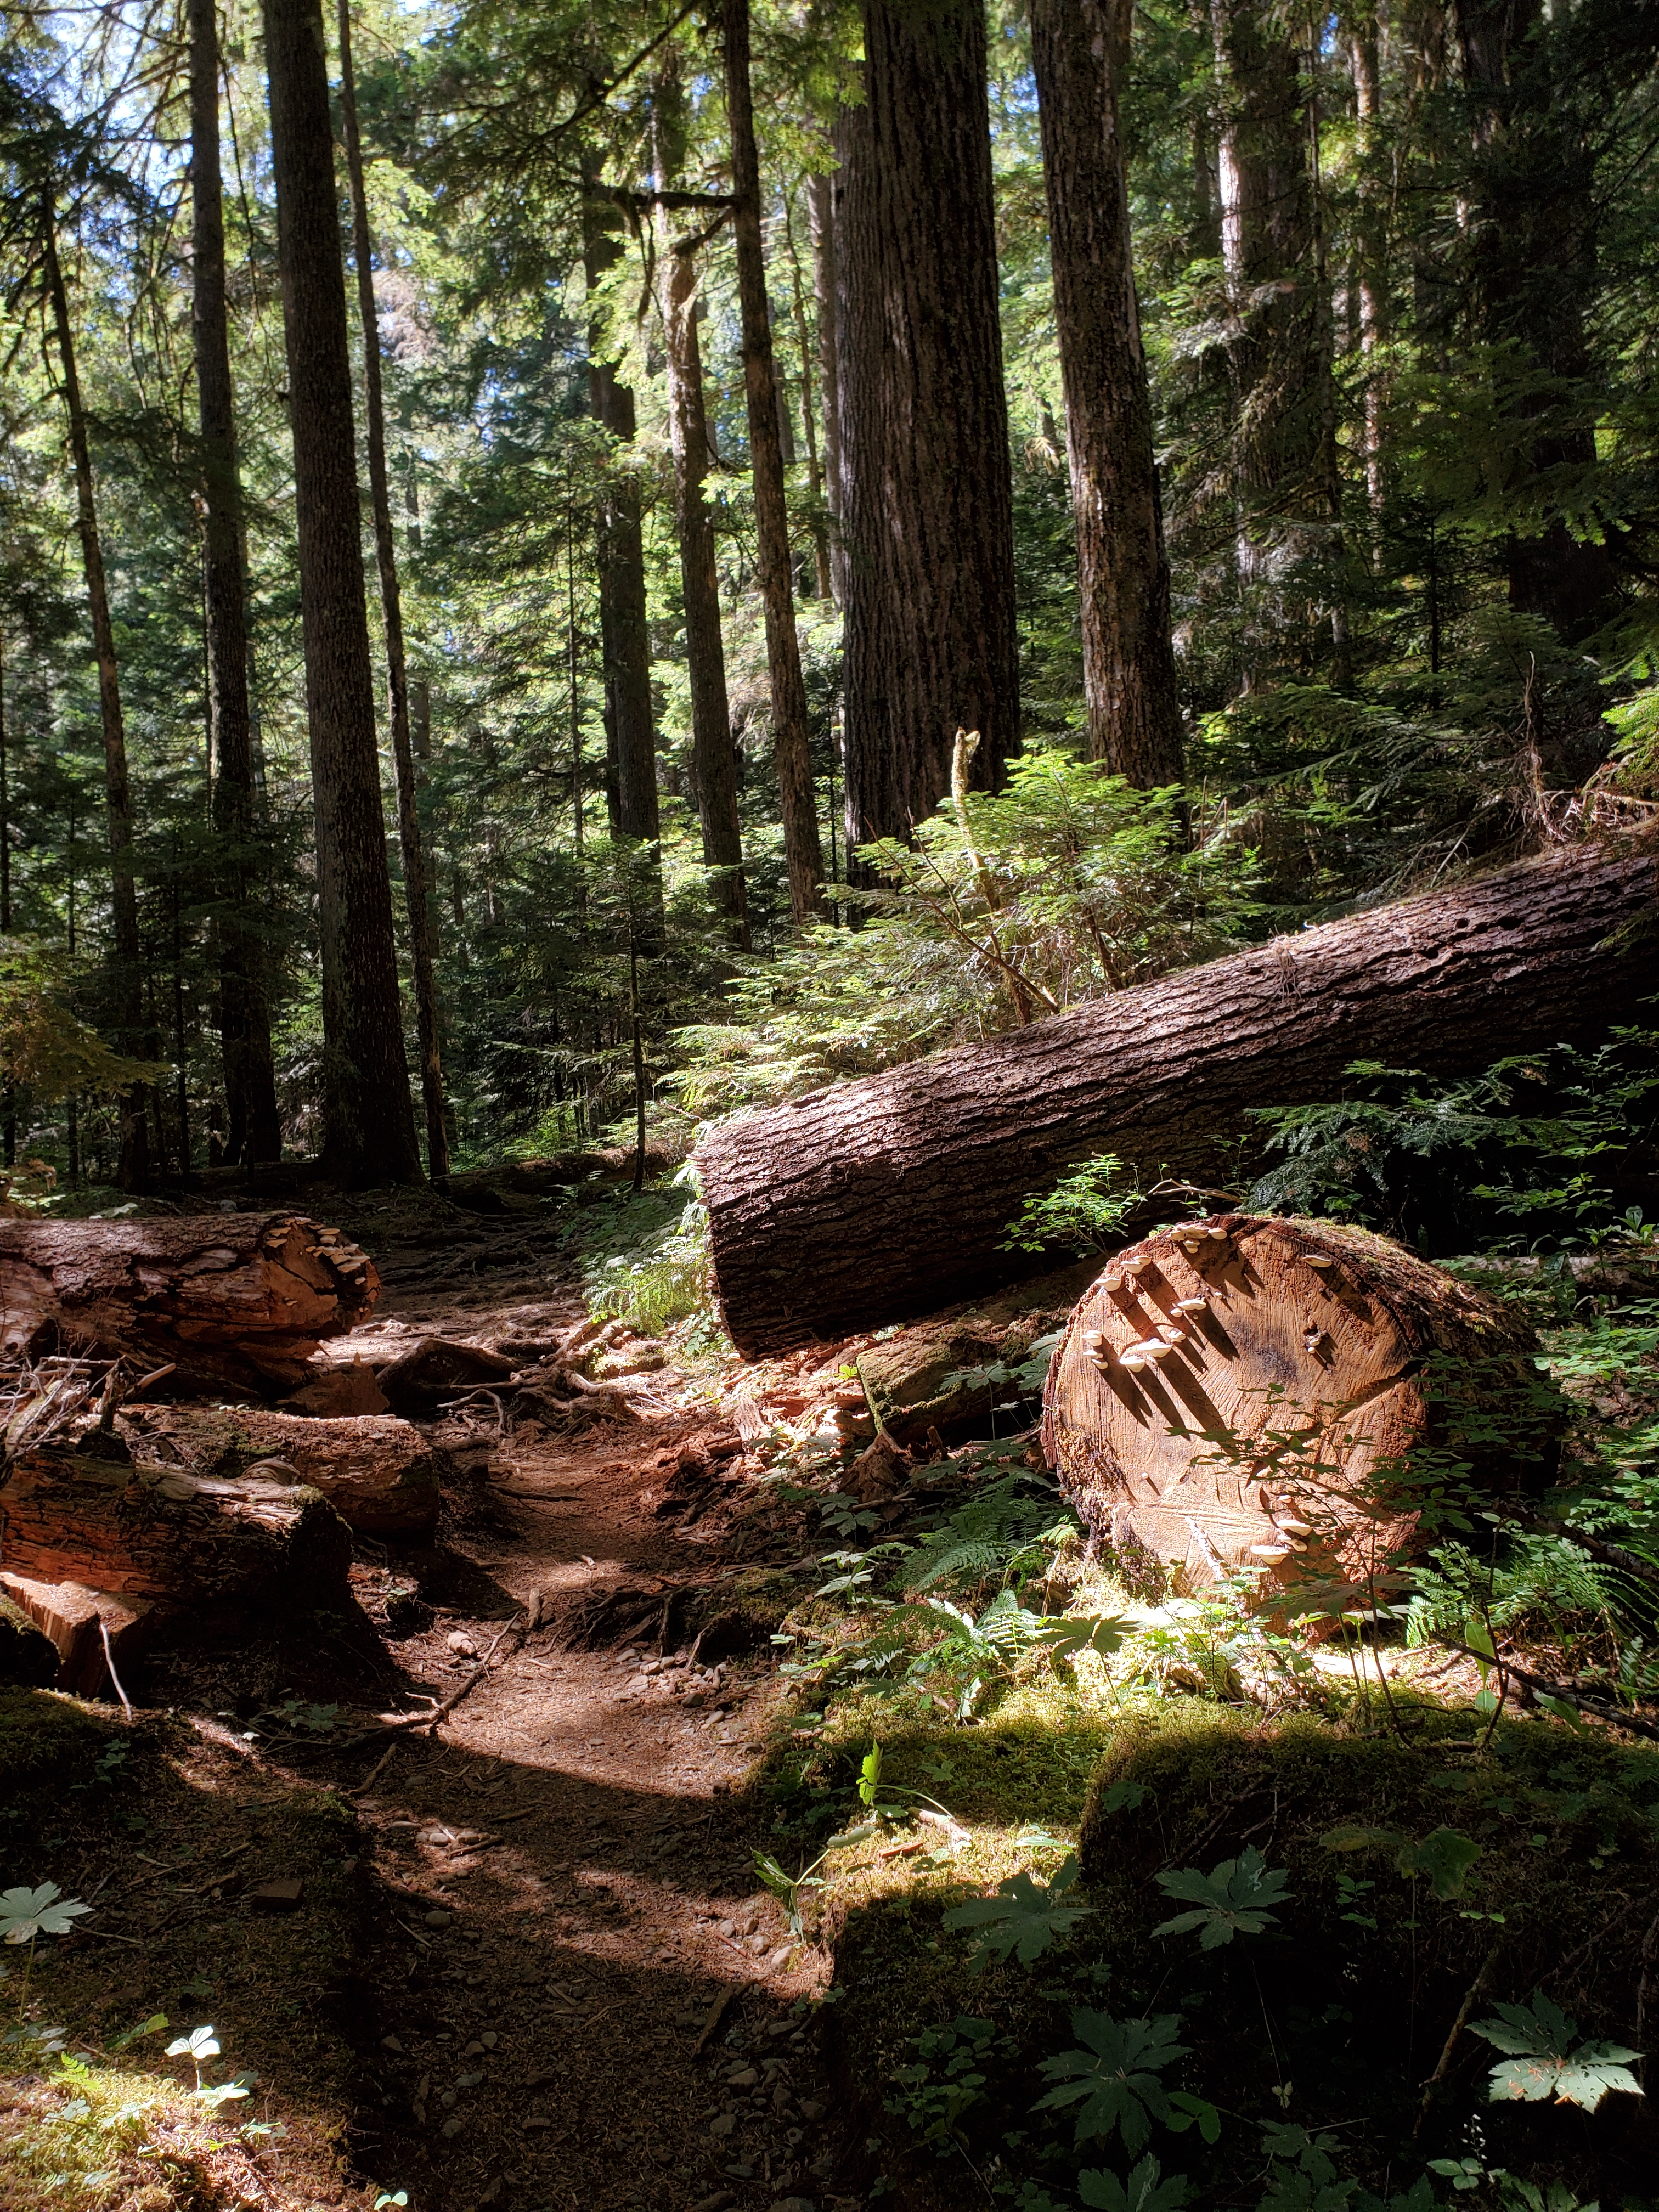
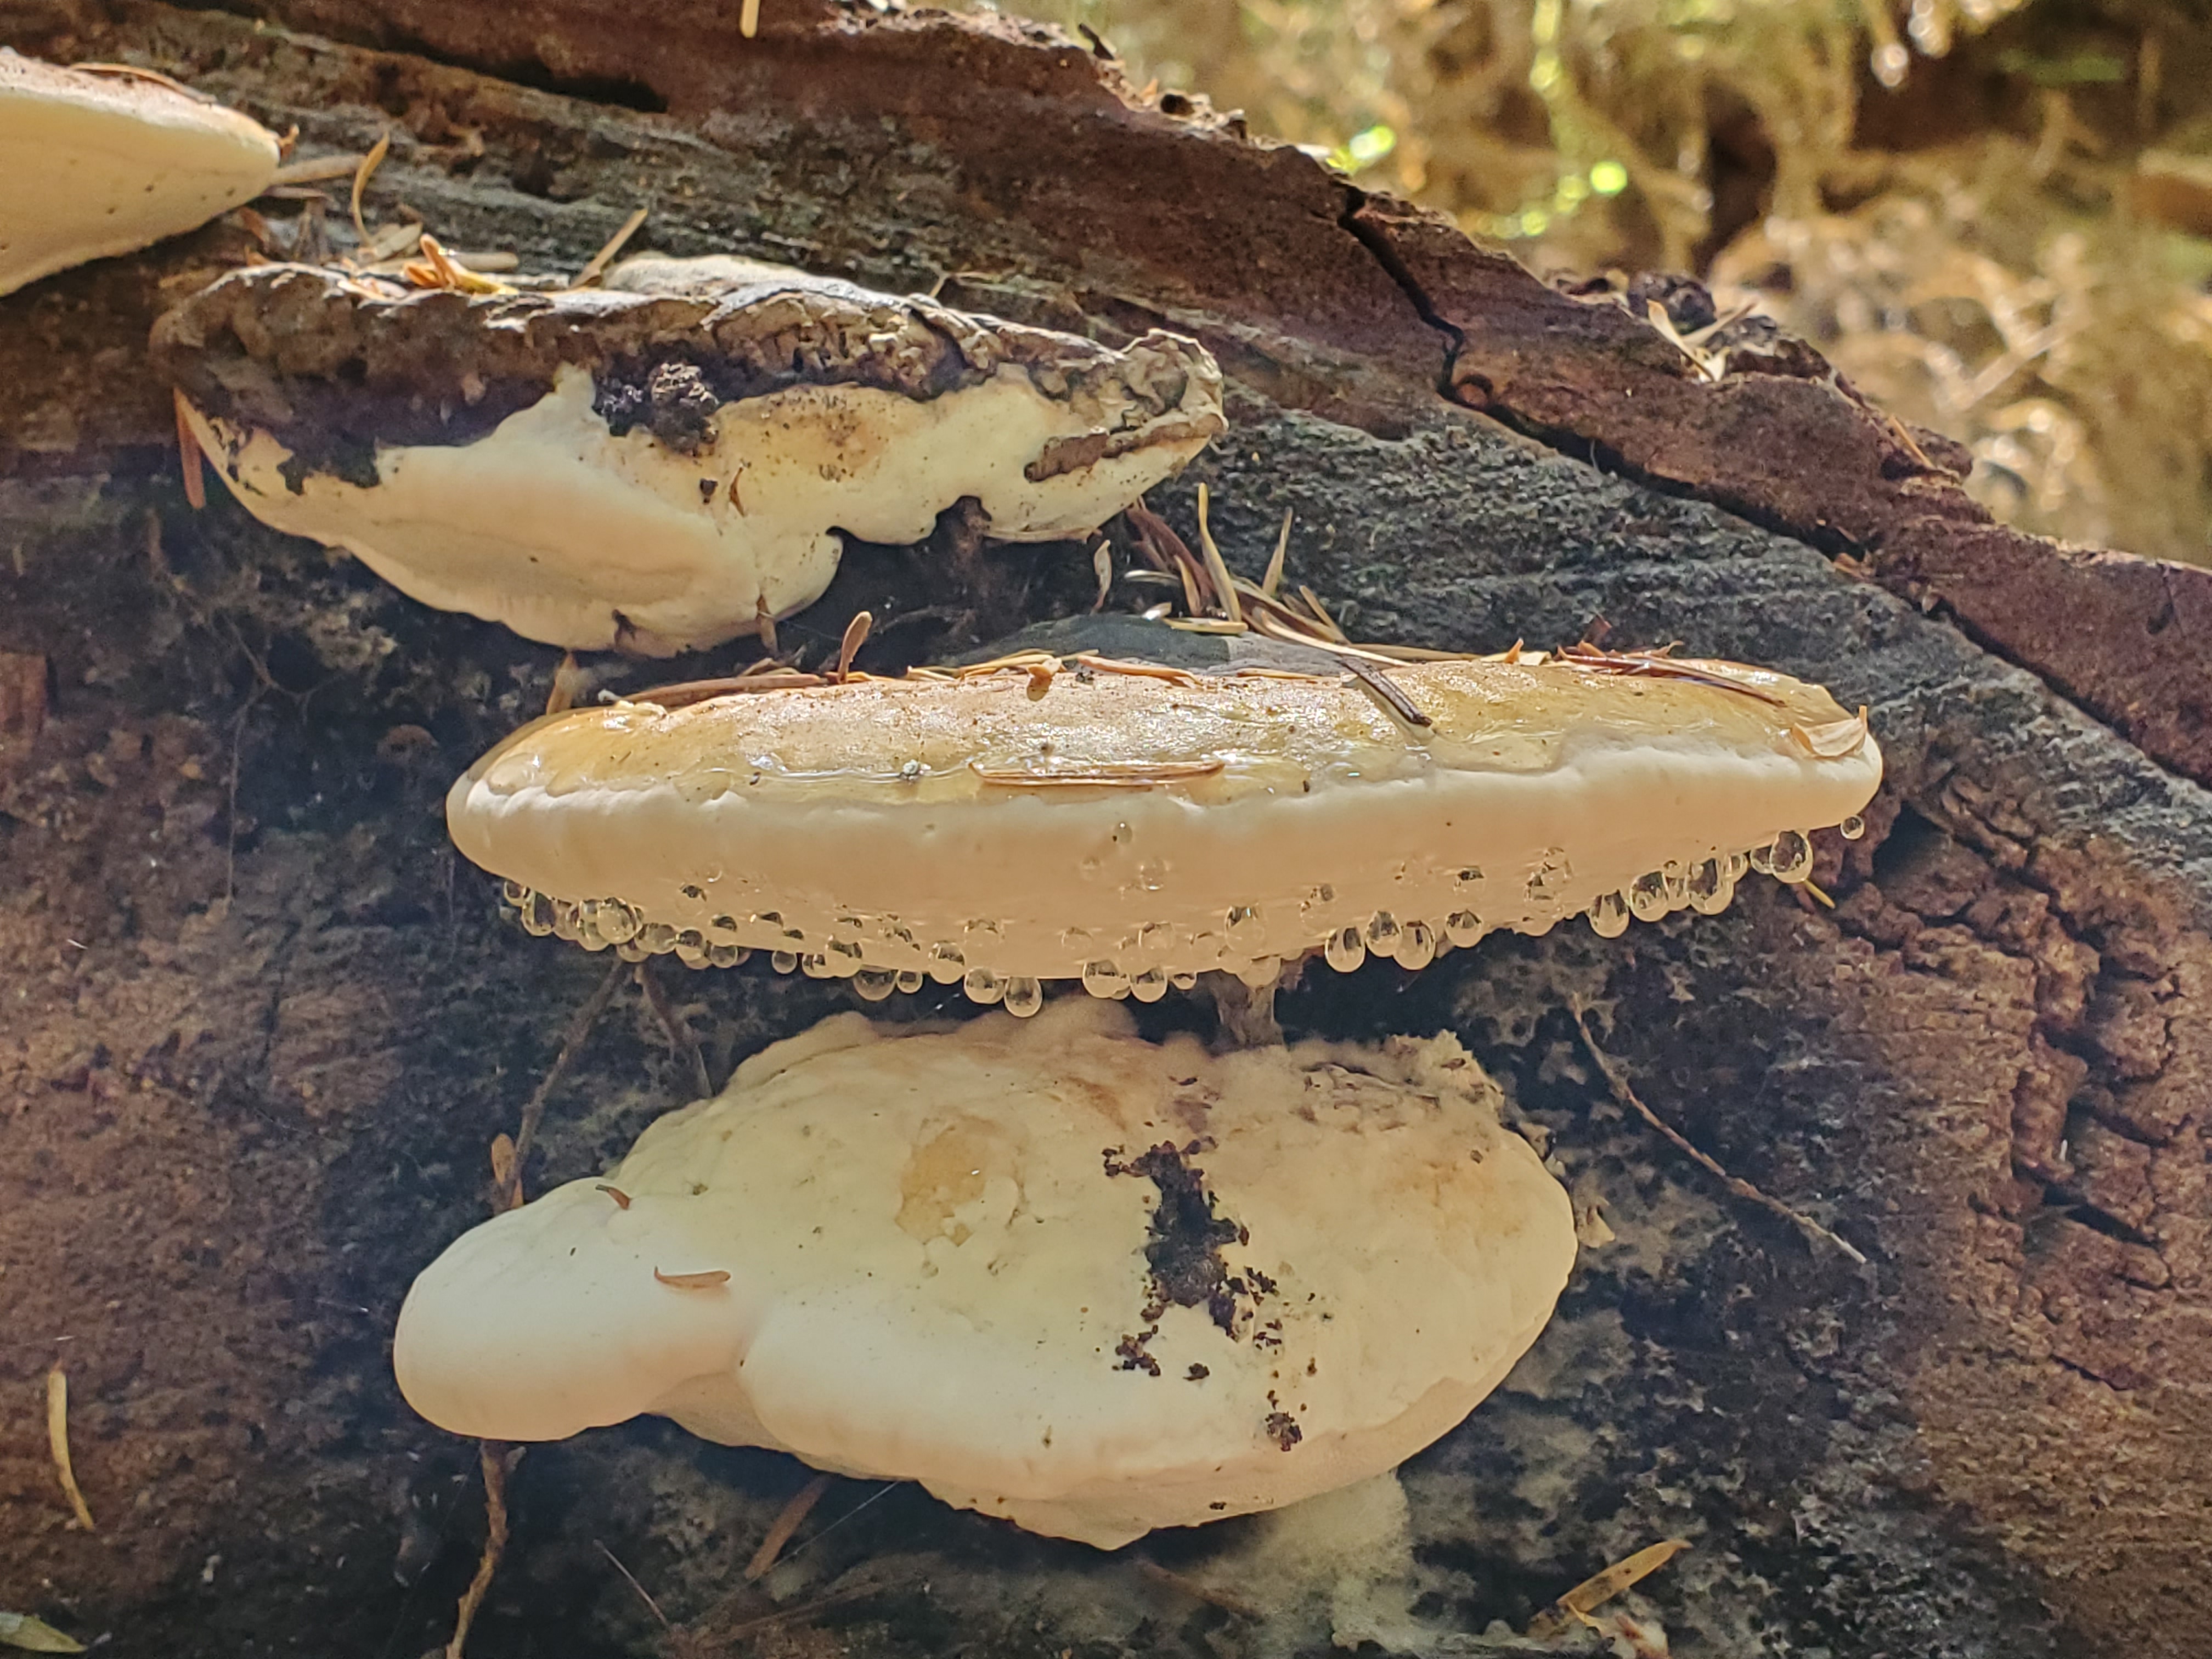
It was a nice hike to Camp 1 – not too many intense climbs up and down, but there were some decent switchbacks near the beginning. There are lots of roots and rocks on the trail. We saw so many neat mushrooms! If you’re a forager like Kyla, you’ll find huckleberries and thimbleberries along the trail – as usual, I told her not to die and waited to make sure she was fine before I ate any 😛
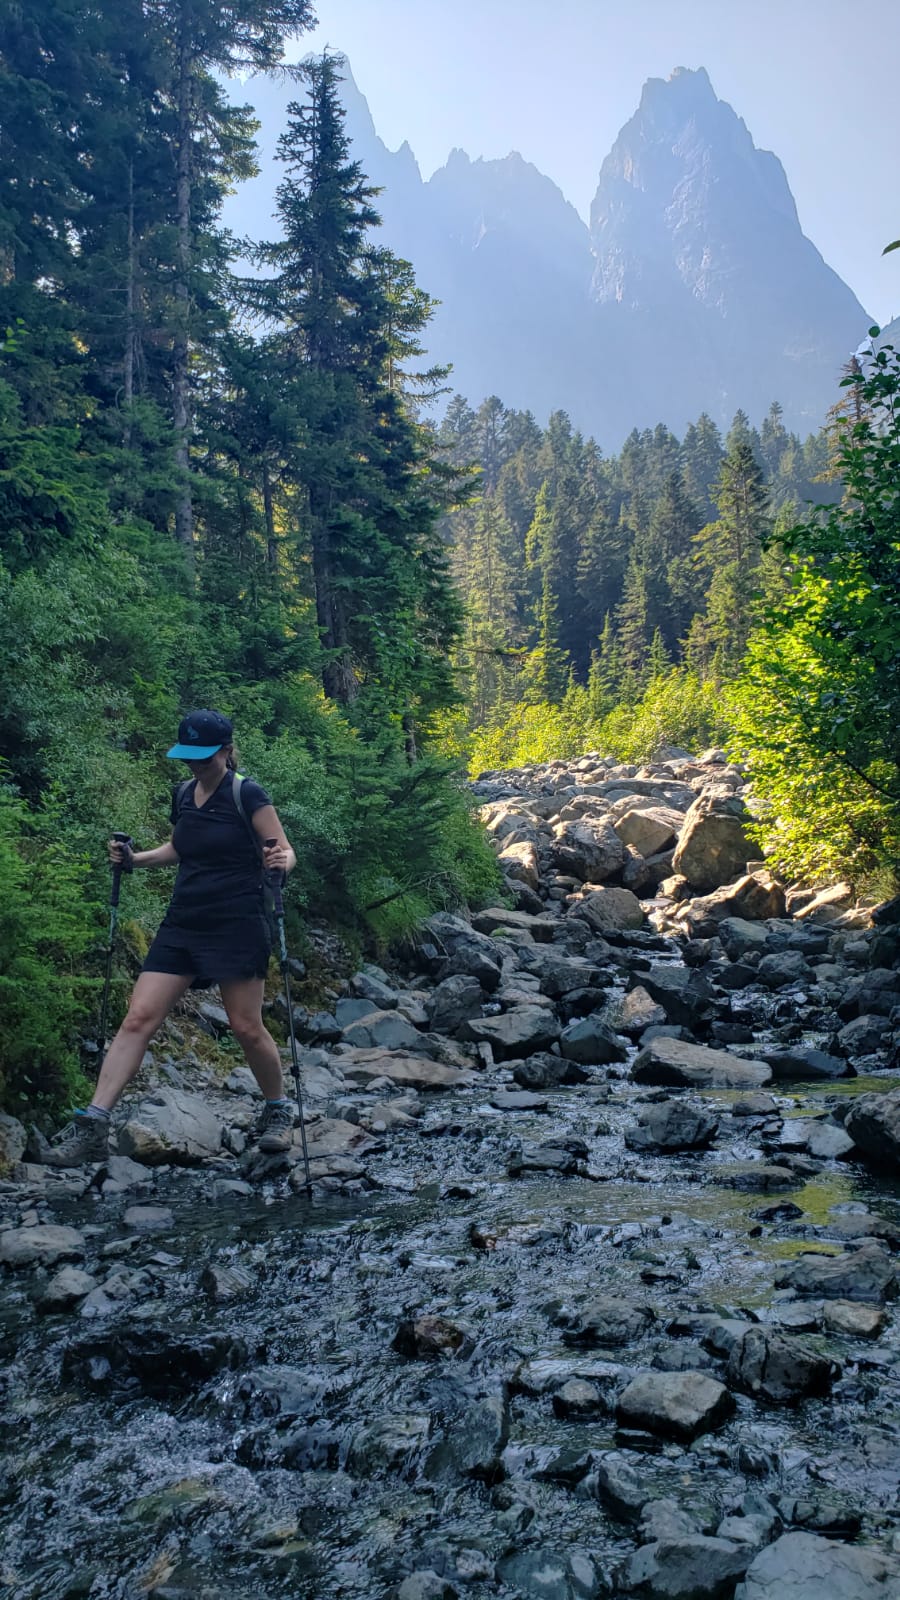
We felt the heat the moment we started out; the air was thick, heavy, and smoky. I was sticky, tired from kayaking the day before and I hadn’t slept much, so I was struggling. Advil, my hat, and lots of water helped.
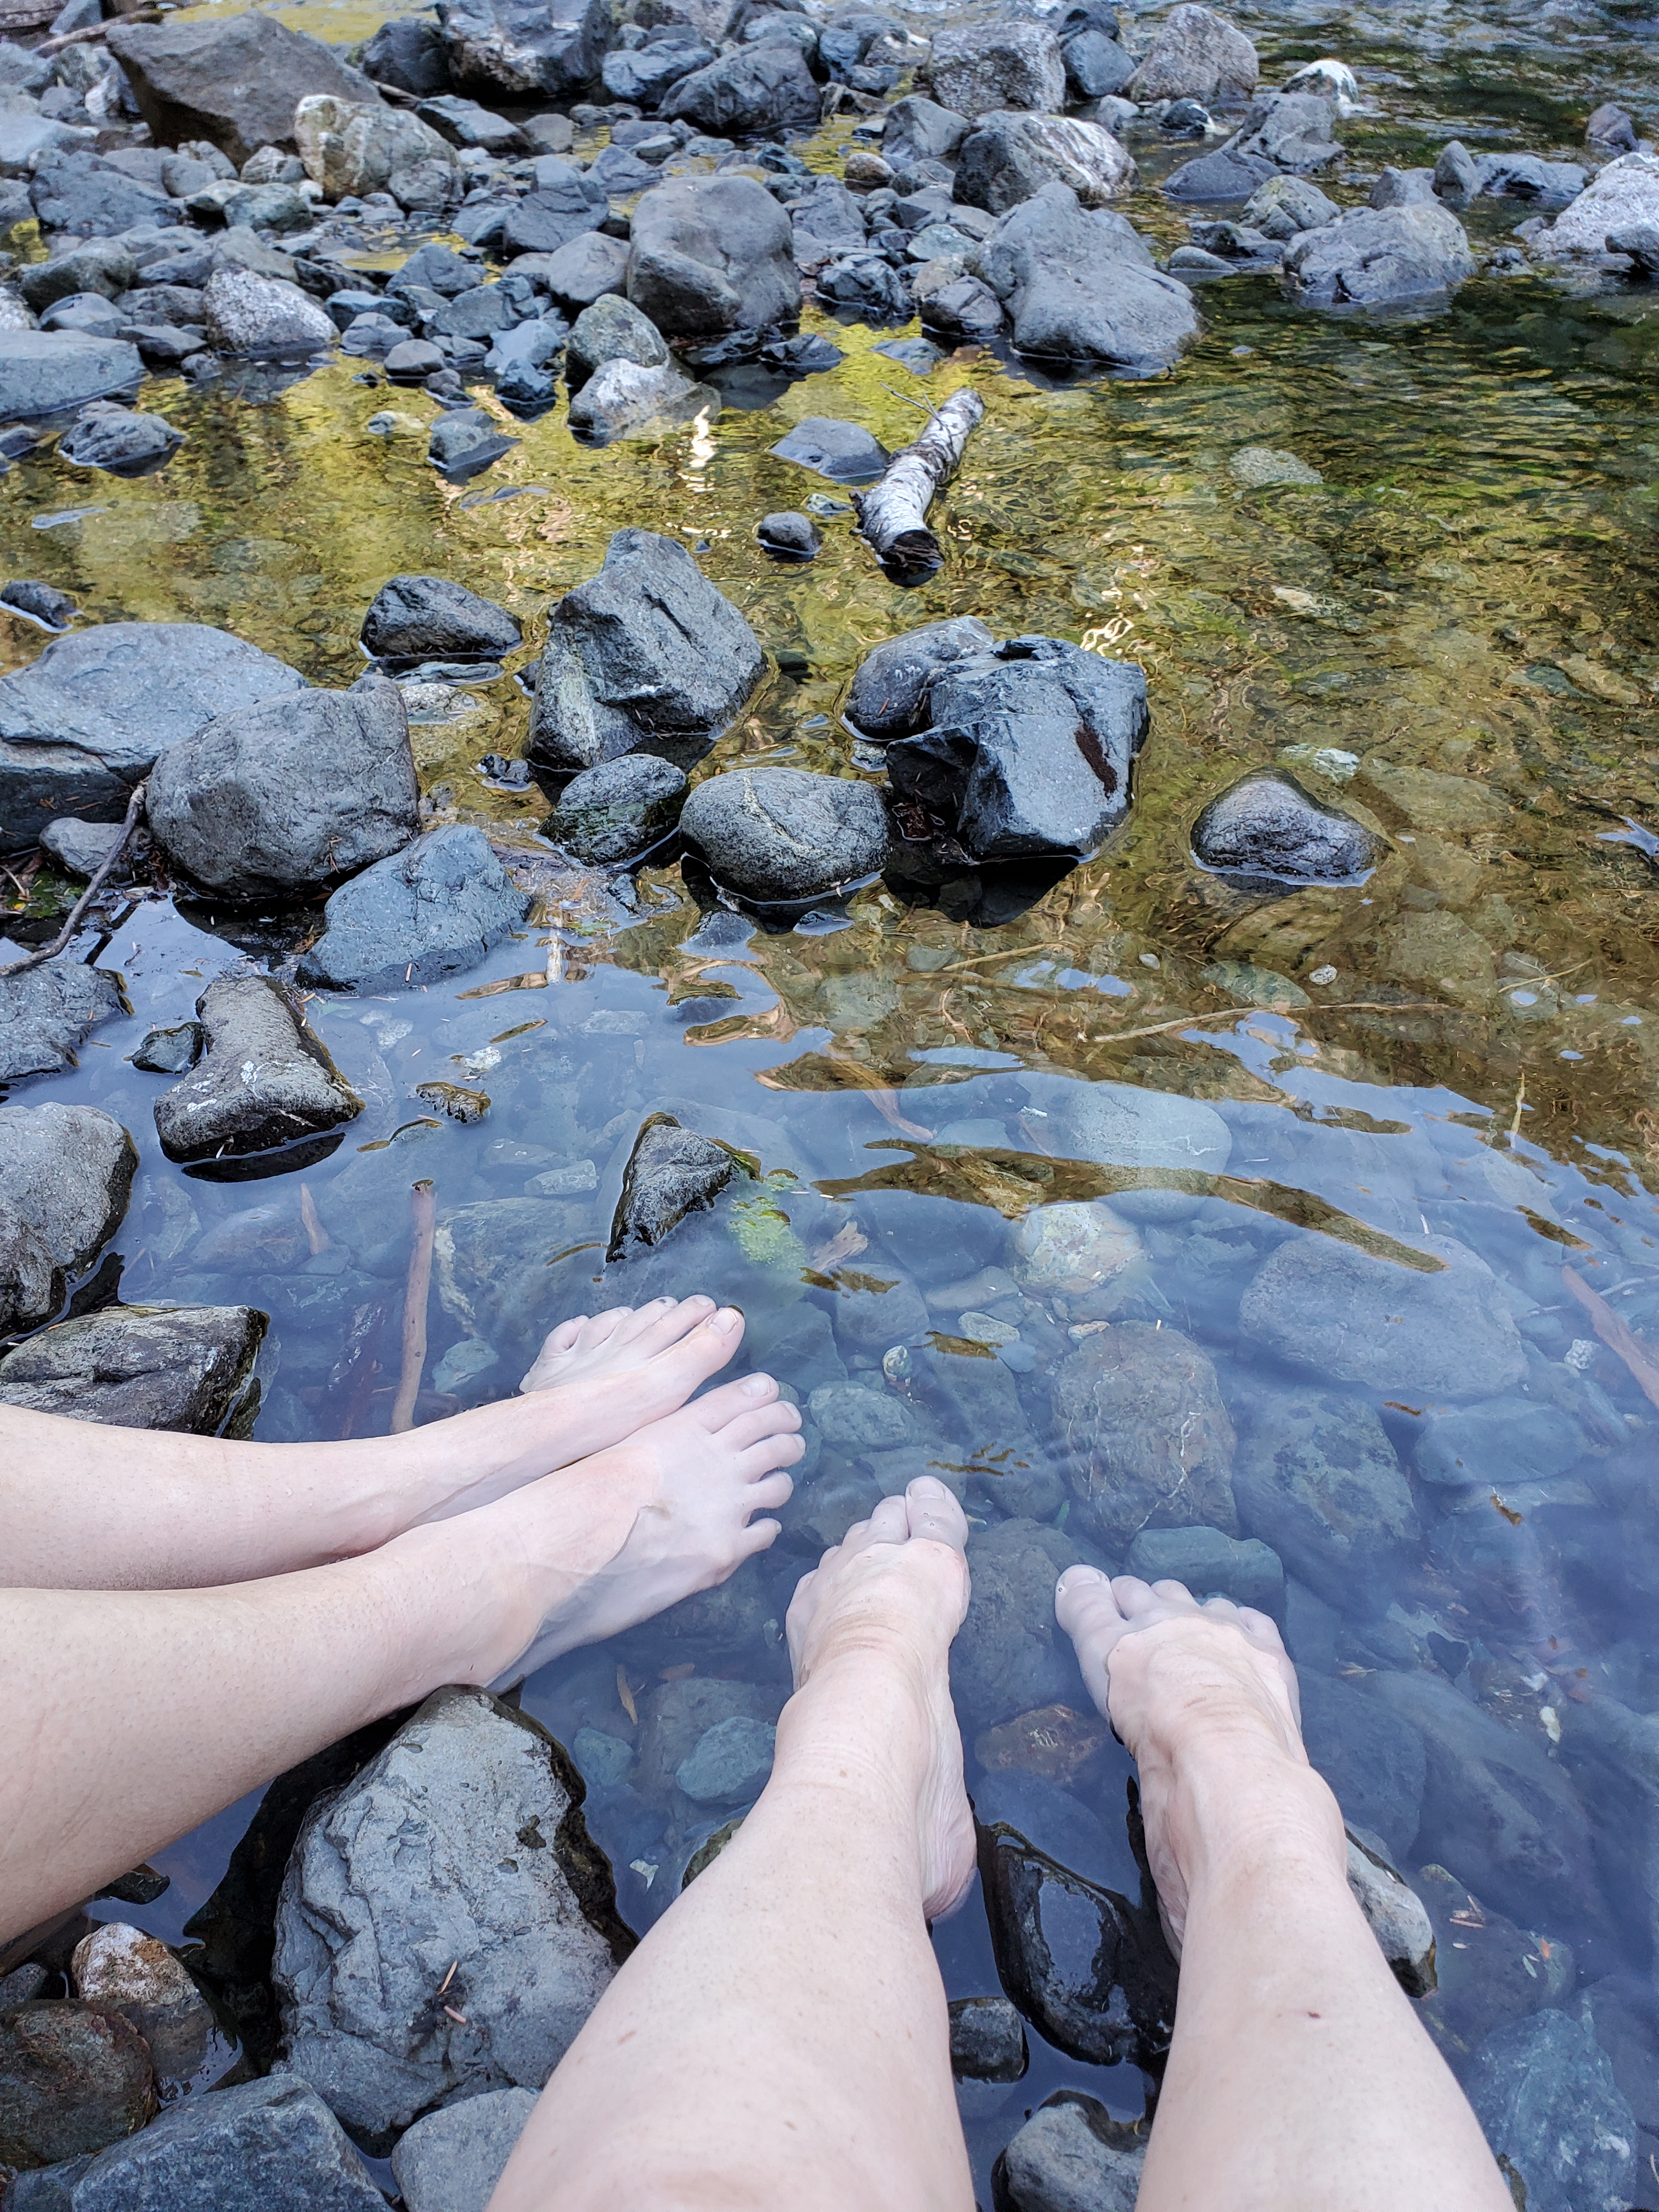
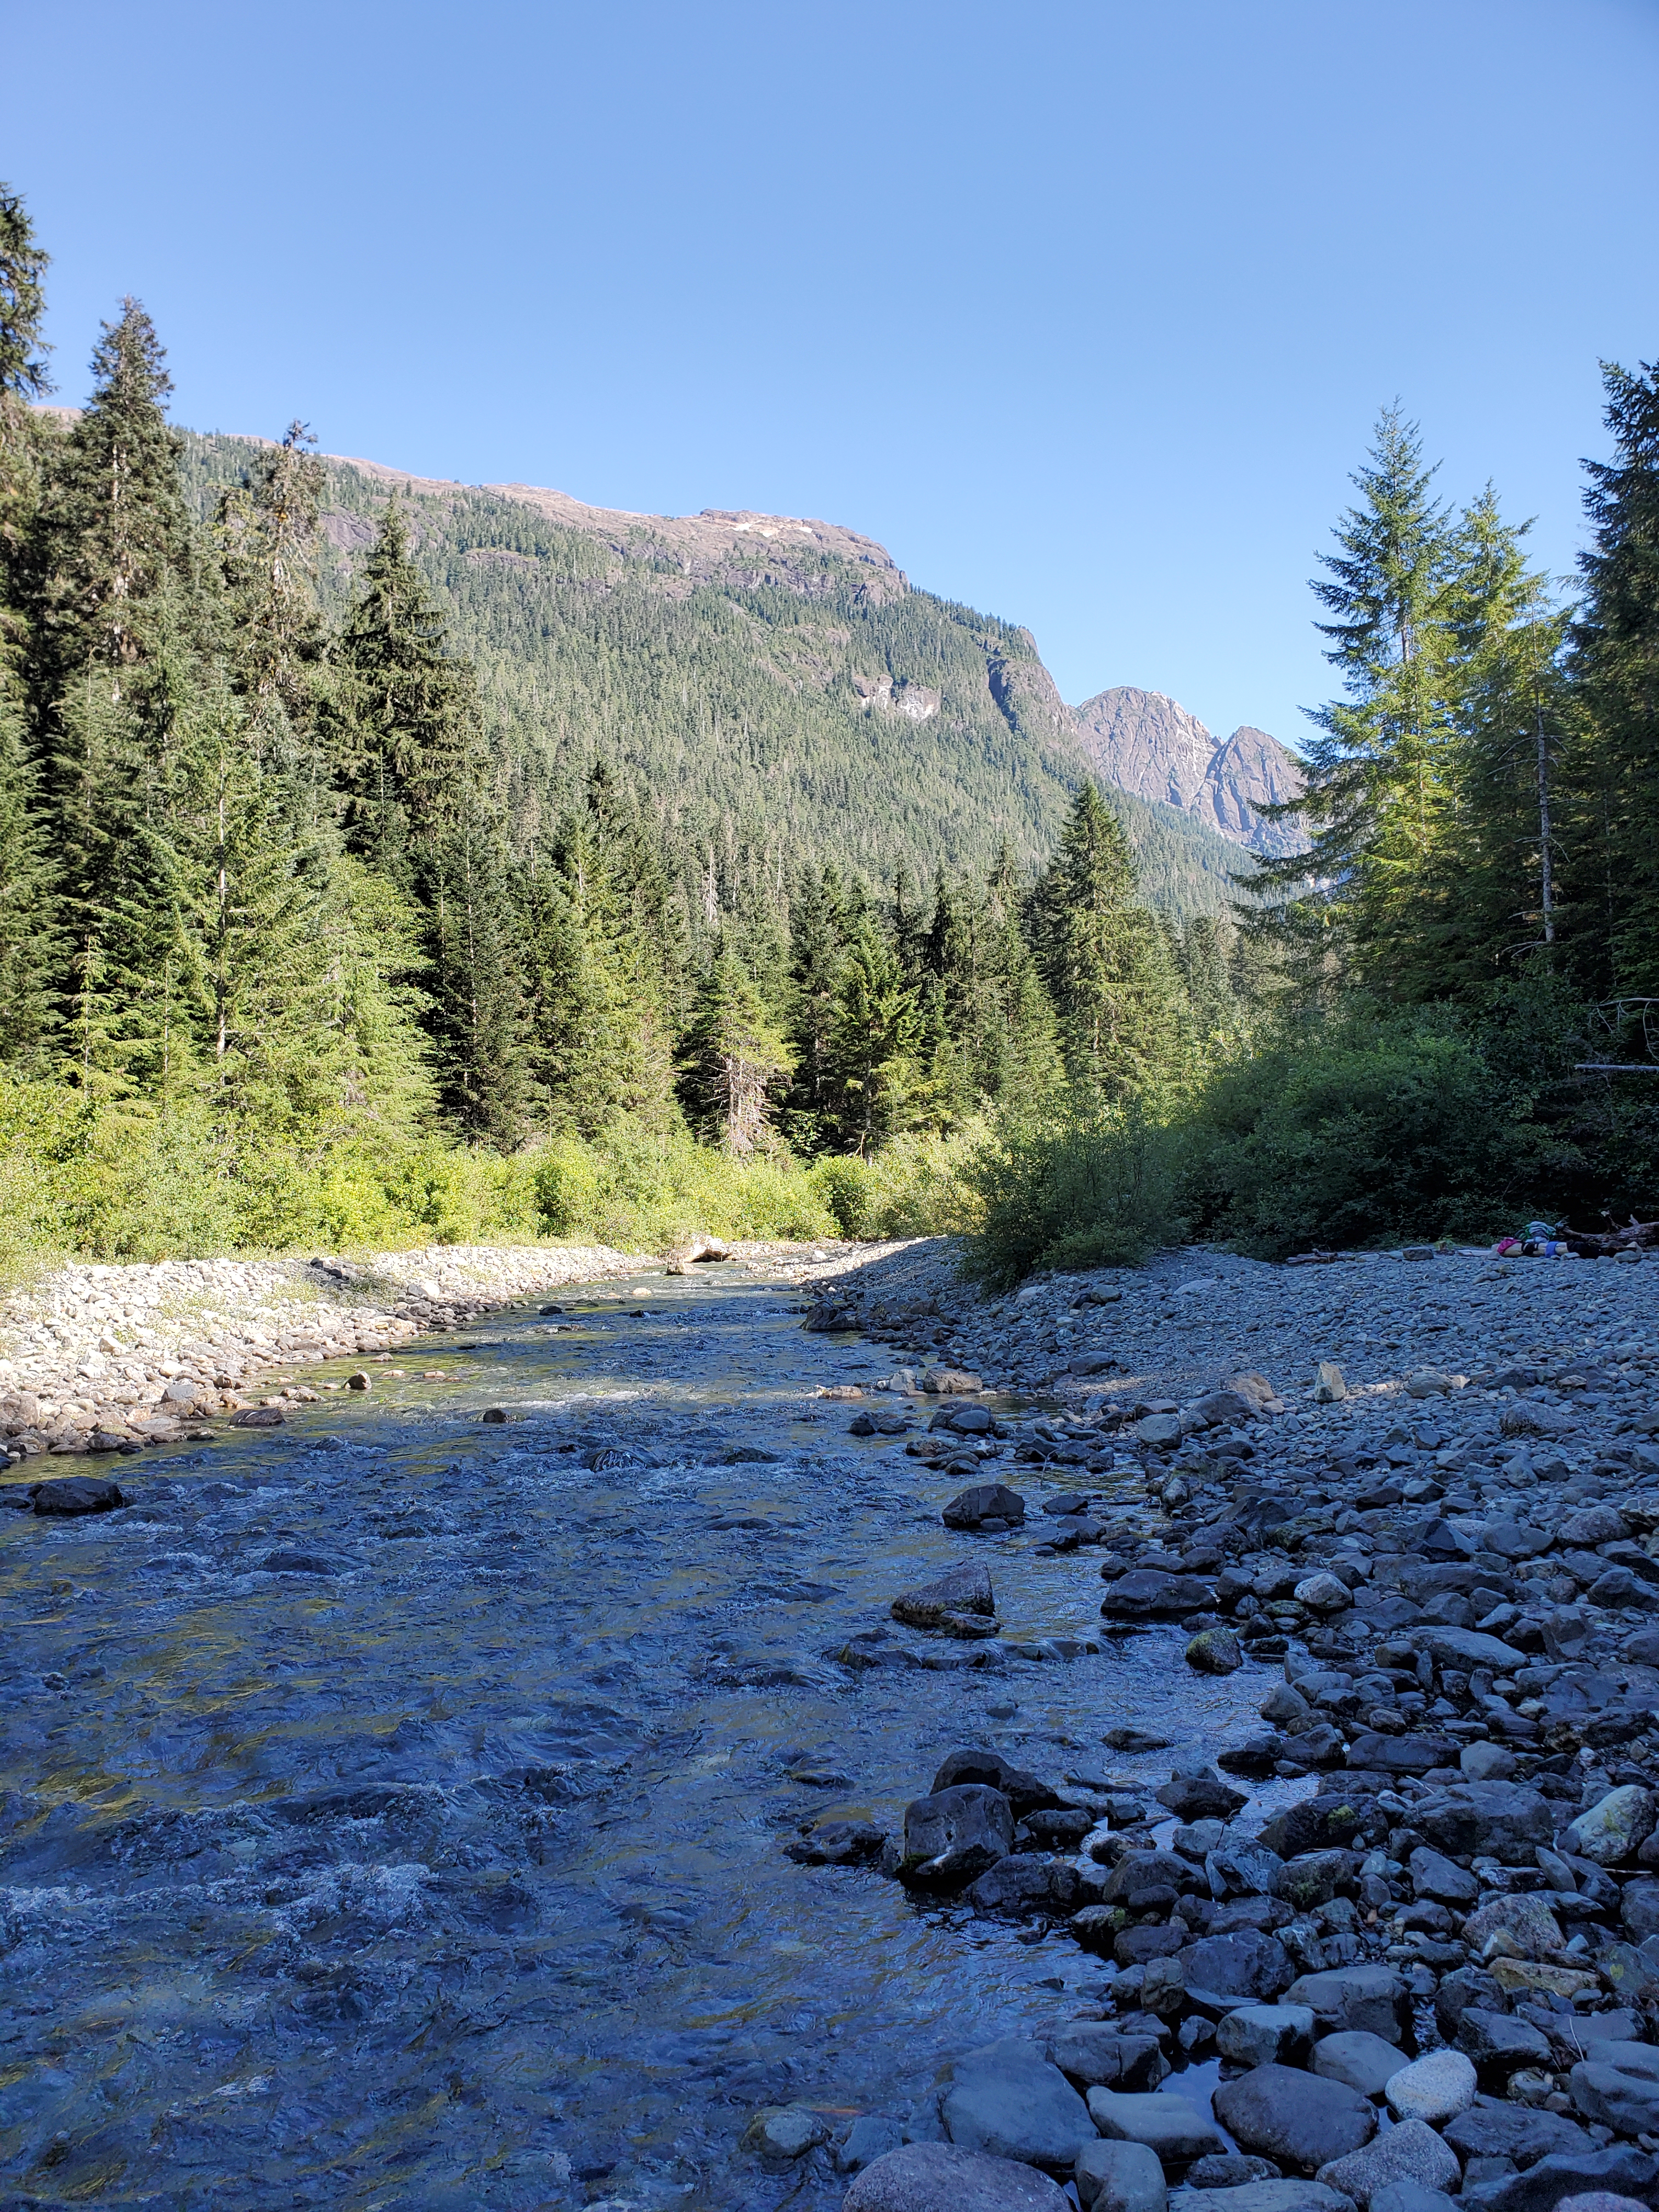
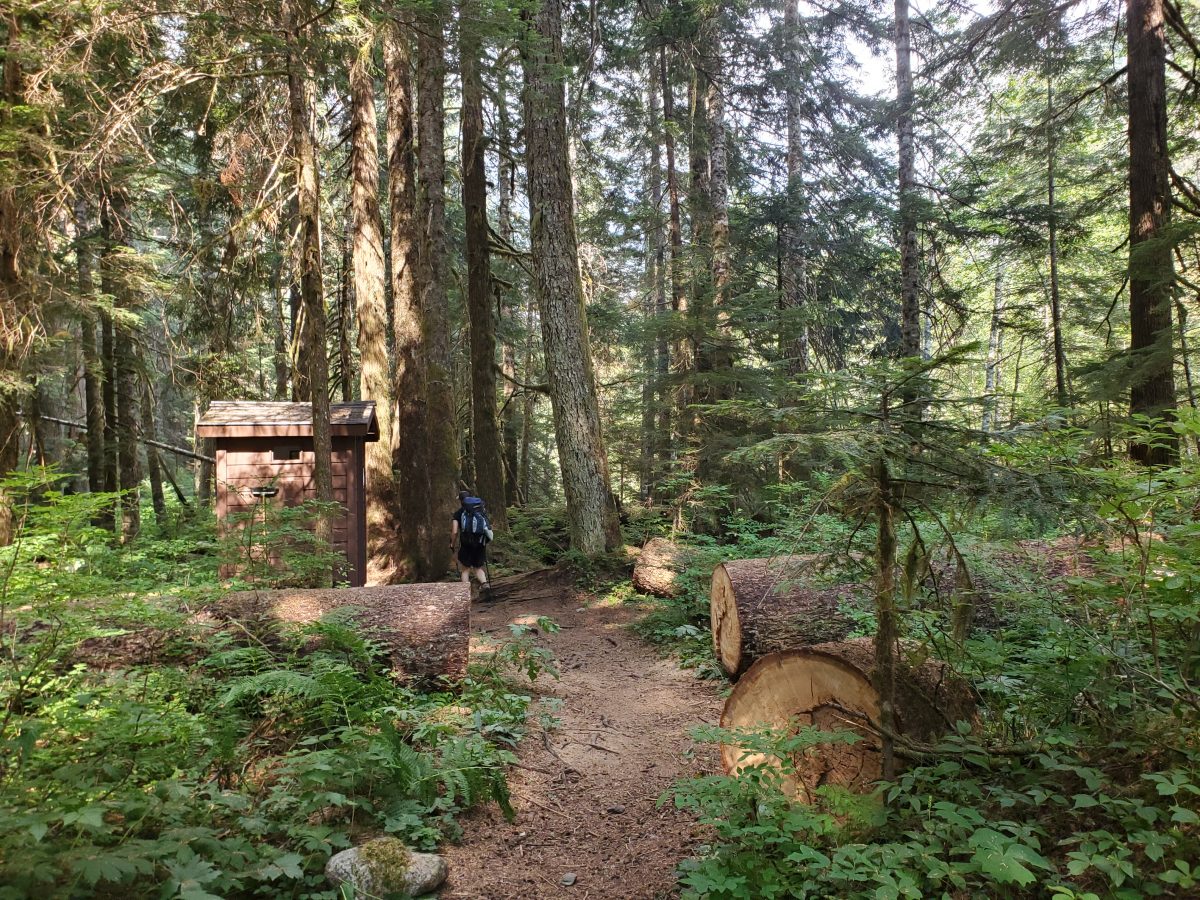
Campground 1 was nice – there are food cables (no bear bin as far as I could tell), an outhouse, and easy access to the river just steps below a big open, exposed camping area. There are also some campsites in the forest. If you’re hiking up to Camp 2, this is a great place to stop for lunch and to refill your water bottles (we use a Sawyer squeeze water filter), and/or splash yourself with refreshing river water!
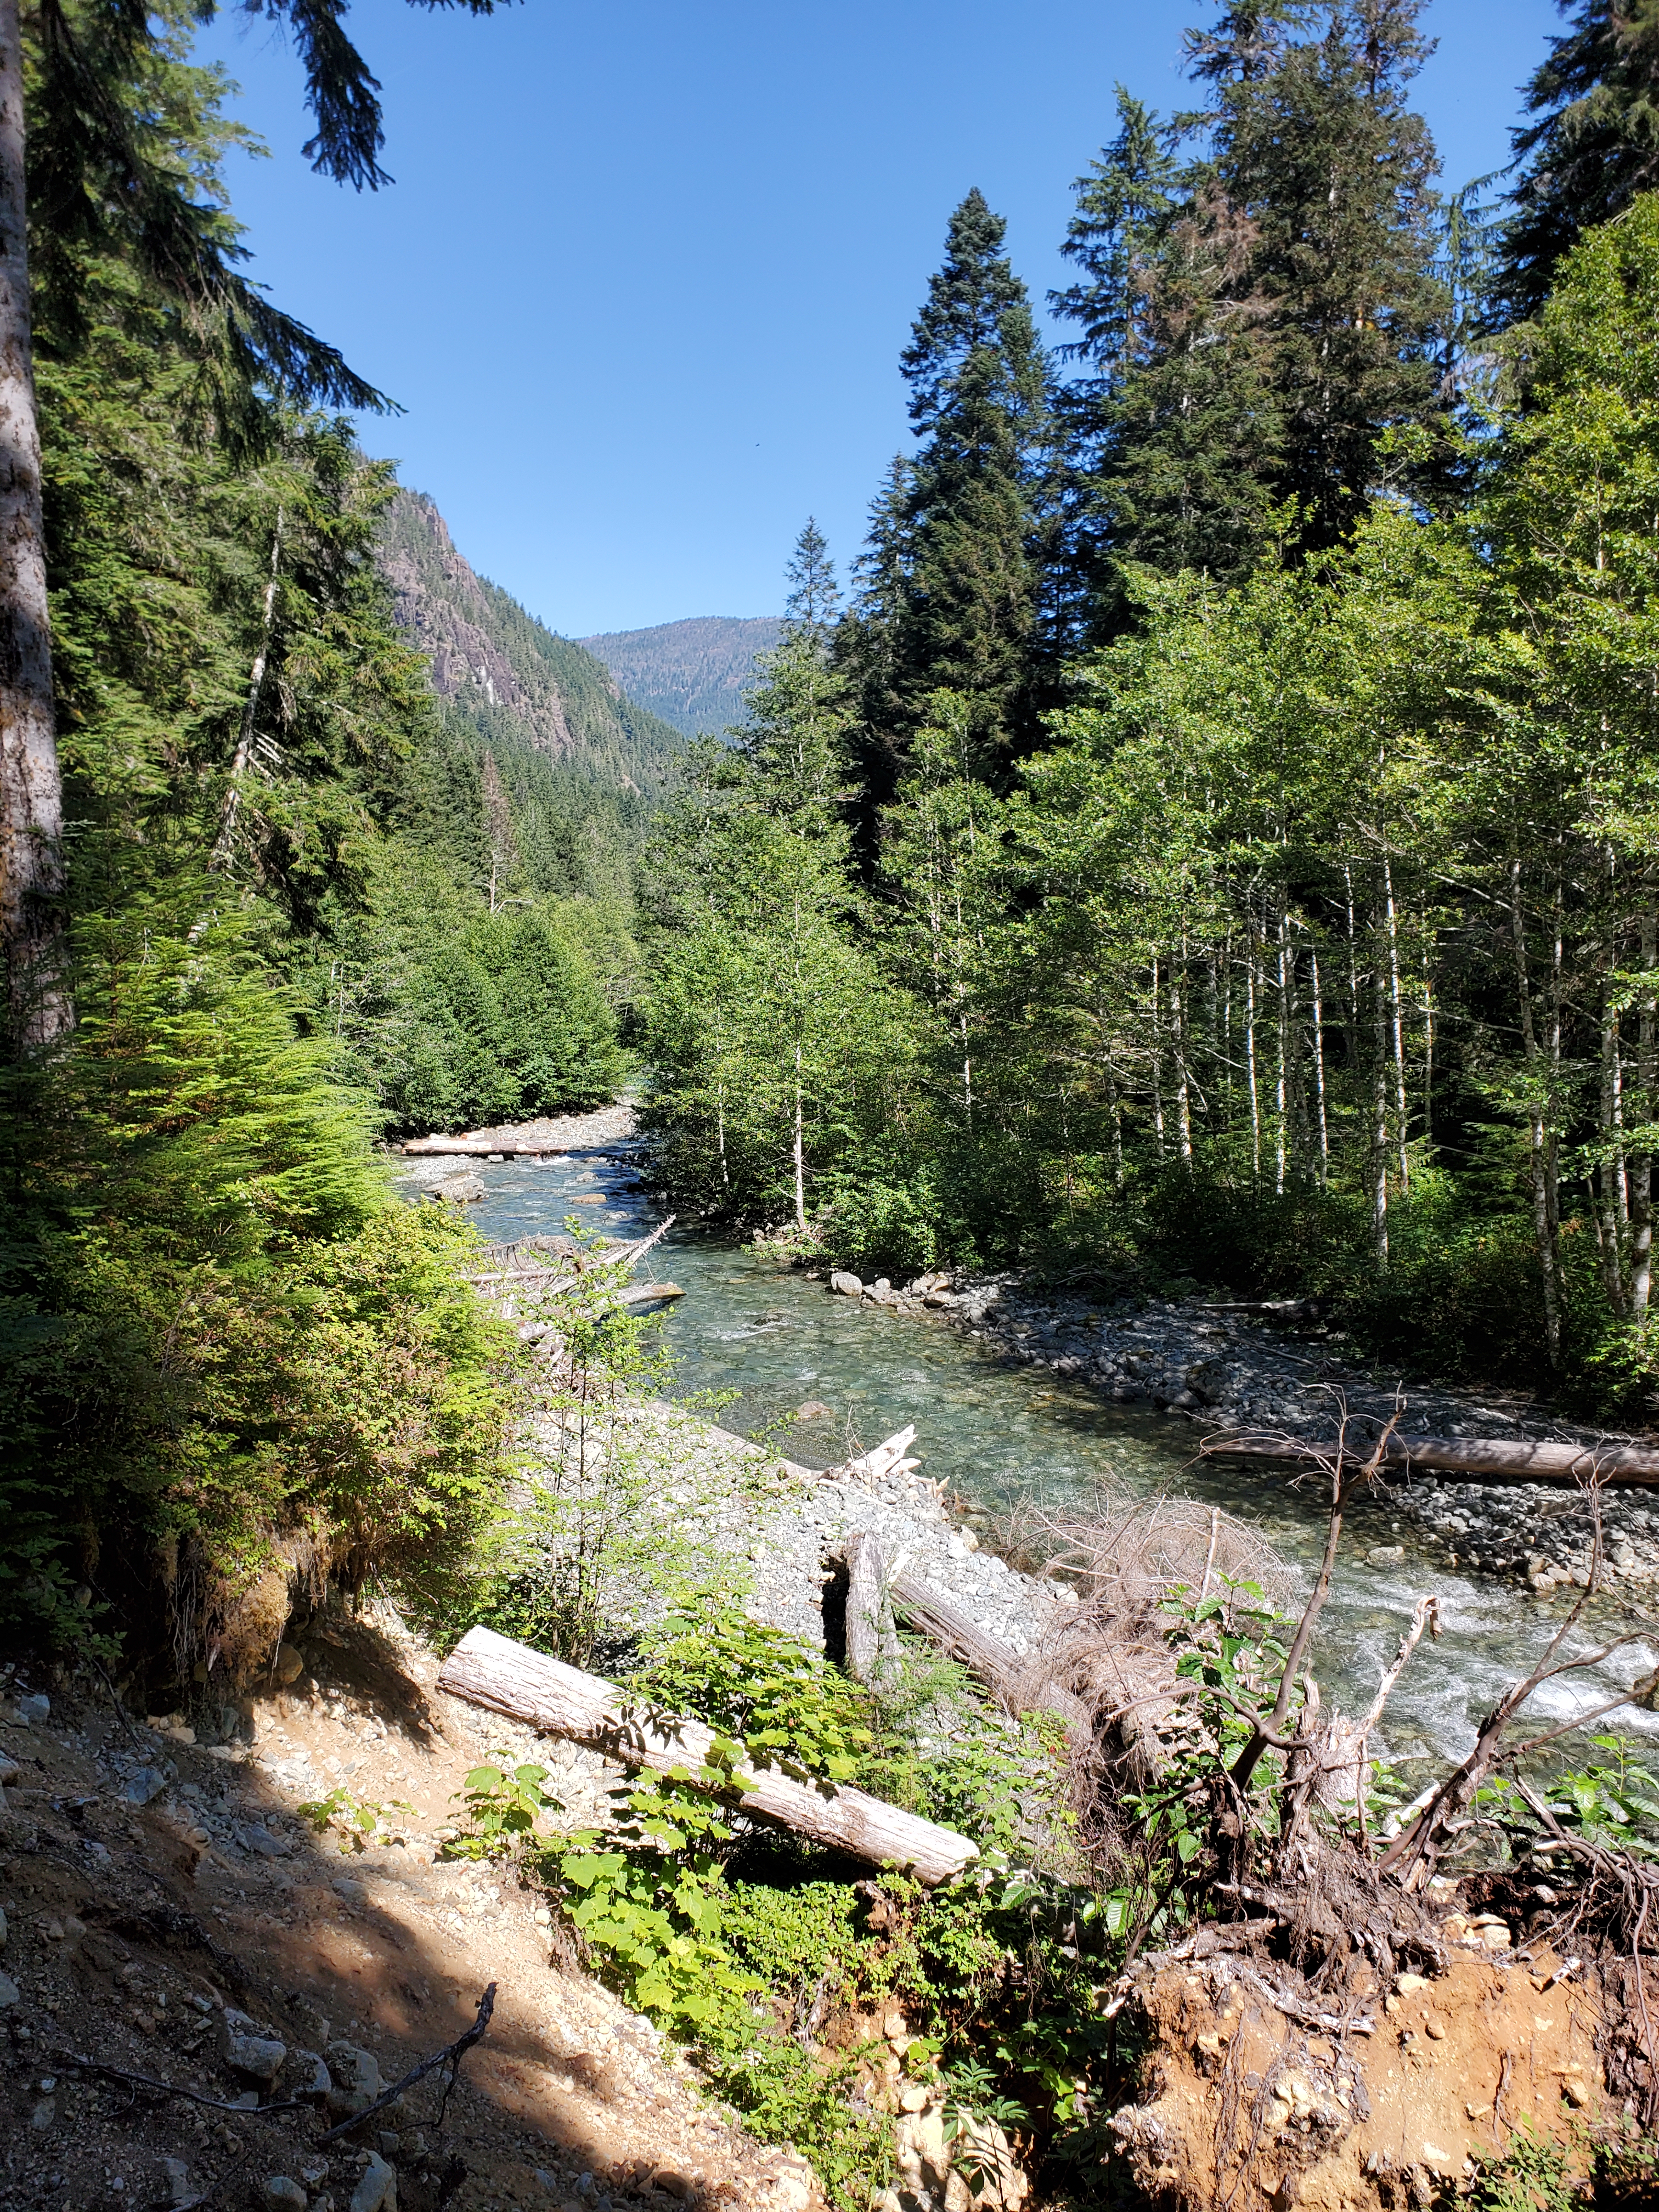
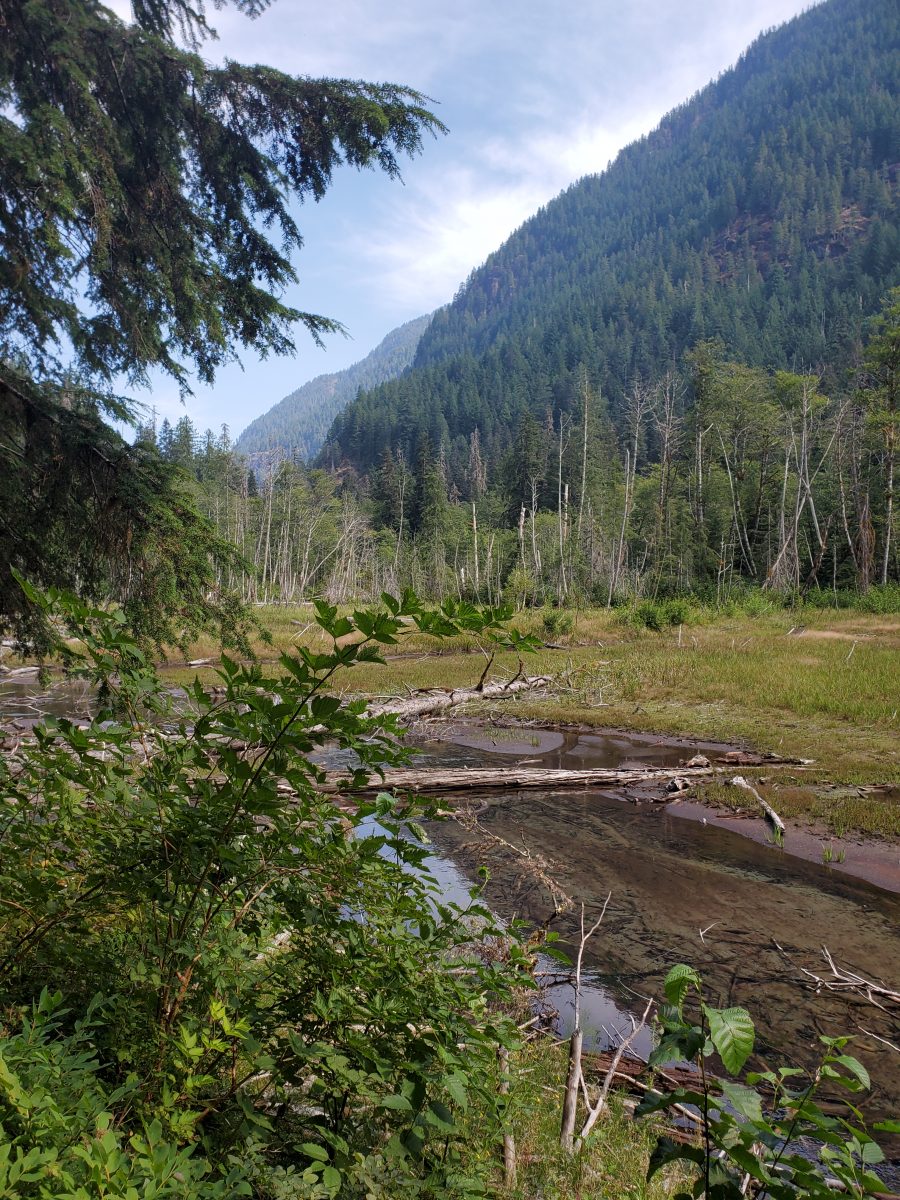
For most of the way up, we were following the river, or could at least hear it. There were some open/exposed rocky areas, and 2 short bridges (with very little water running underneath), one with a nice waterfall view. No need to spend tons of time ogling it though, you’re going to get lots of waterfall time on Day 2! There was no wet creek crossing when we were there.
After the first camp, the trail becomes more intense, with many more more climbs up and down. I had thought it would take us longer to get to the first camp, and less time to get to the second, but I was clearly wrong. It got to the point where I started asking people coming down how much farther it was!
Finally, after veering away for a bit, the trail turned back towards the river. Eventually, we spotted a tent! It was a tough hike for us and we were so elated to finally get there that we practically ran! Just kidding, I hobbled.
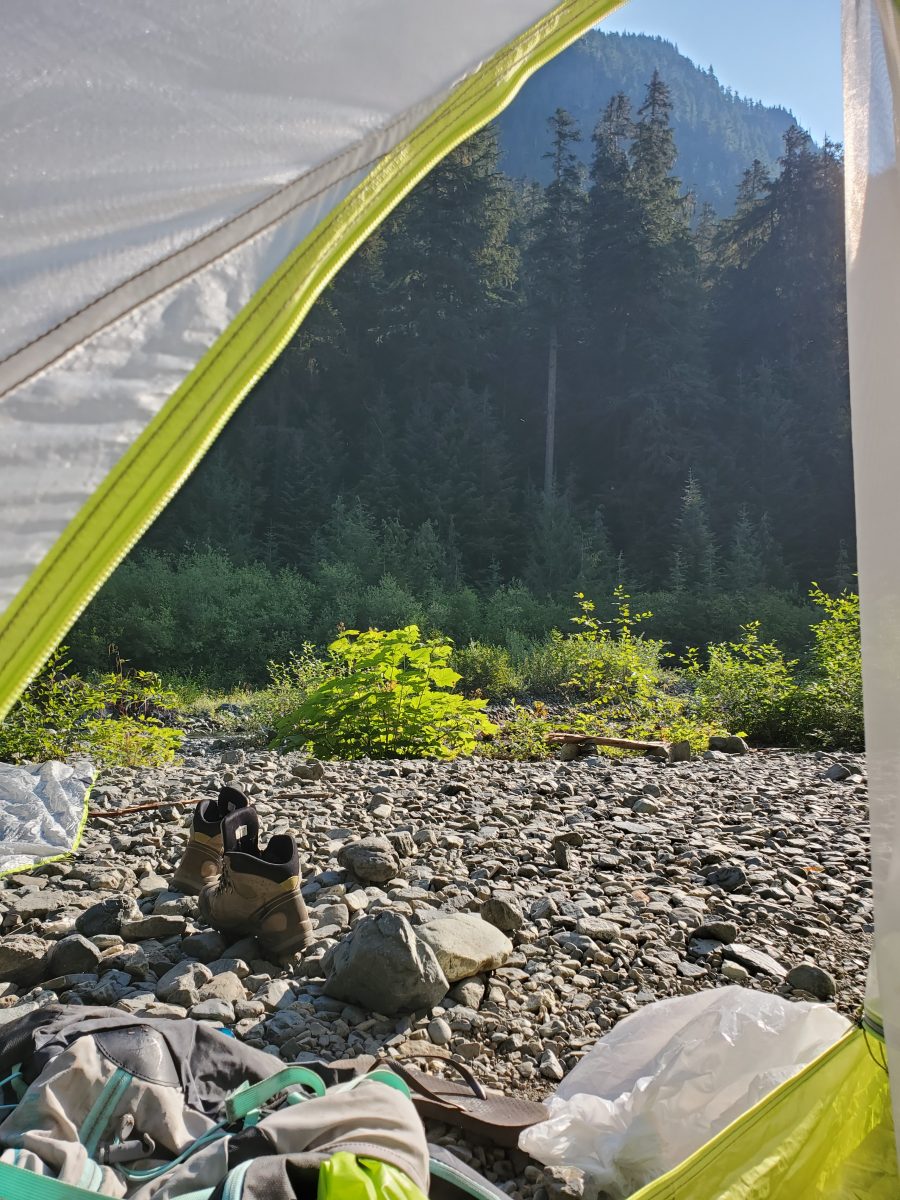
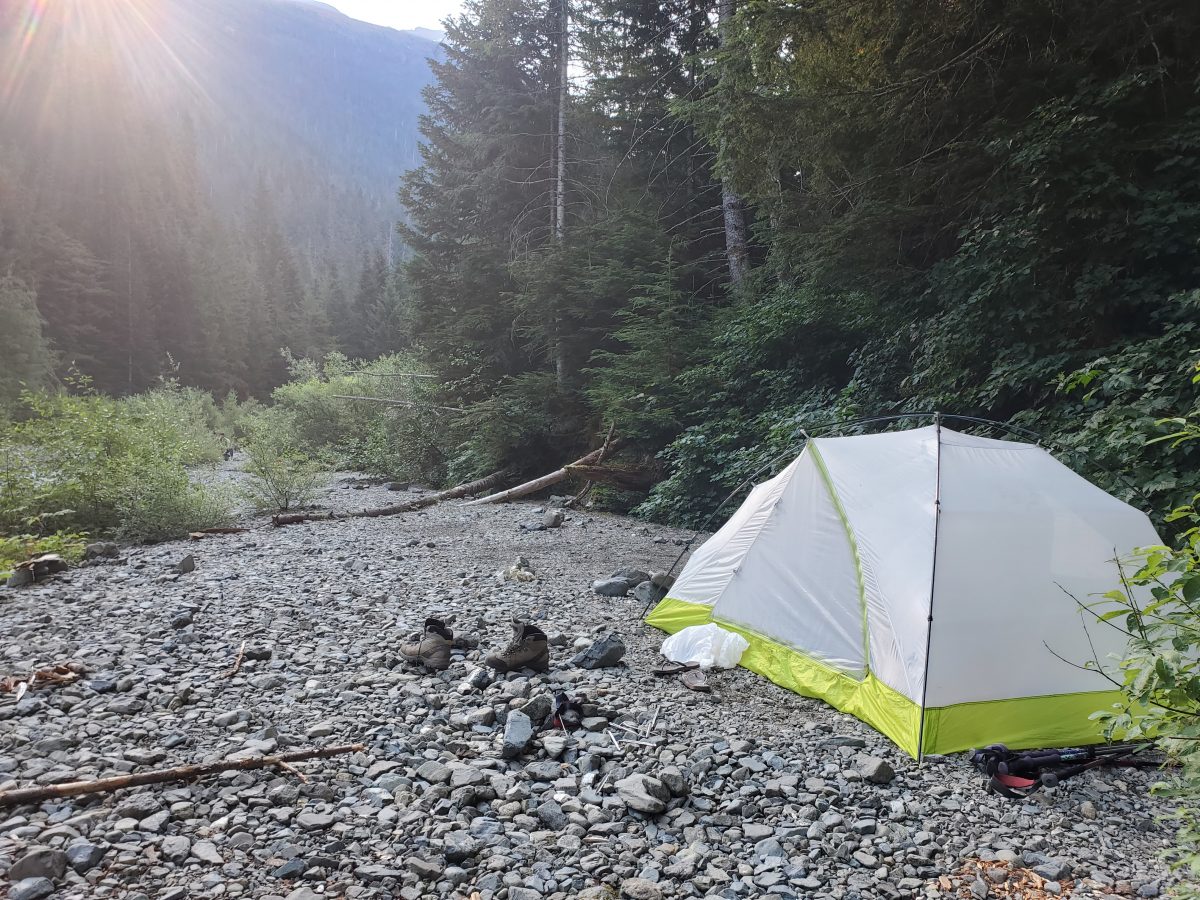
Camp 2 has beautiful sites by the river and in the forest, an outhouse, a bear cache and cables. The river is great for washing up (DOWN river from the camp, of course). On a clear night, it’s a great vantage point for star-gazing. We visited during the height of the Perseid meteor shower and we saw some shooting stars even though we couldn’t manage to stay awake past 10:30!
We weren’t sure how busy the campground would be right before a weekend in the summer. We’d counted the cars in the parking lot and were subtracting people coming down to try to figure out how busy it would be. It turned out there were lots of spaces at the second campsite. There are lots in the forest if there are none by the river.
Overall, this section of the trail was well-marked and we didn’t have any trouble following it. For the most part, you’ll be hiking near the river (i.e. you can hear or see it).
Day 2: Camp #2 to Landslide Lake and Berg Lake


Timing: Total (return trip): 5 hours 15 minutes. Campsite # 2 to Landslide Lake: 1 hour 15 minutes, Landslide Lake to Berg Lake: 1 hour 20 minutes, Berg Lake to Campsite (with breaks): 2 hours 40 minutes
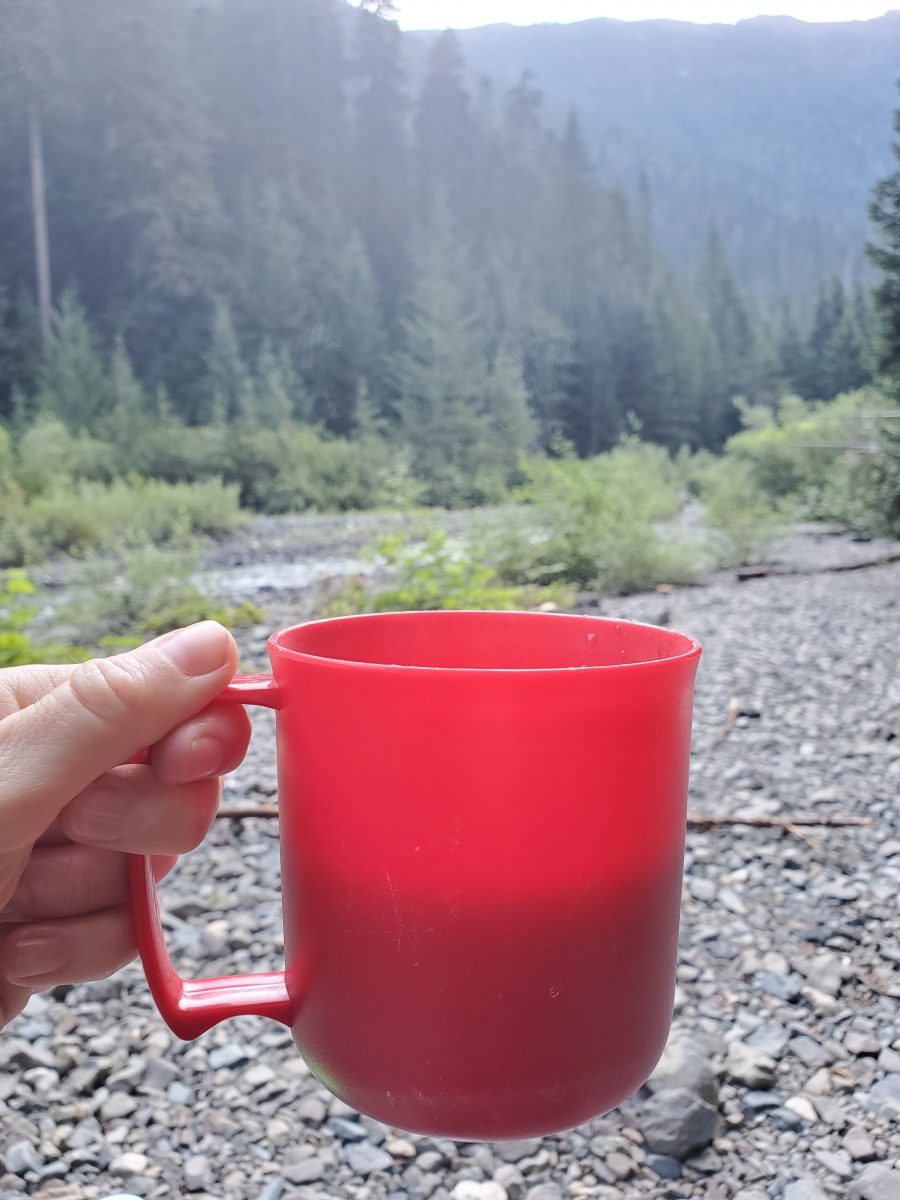
Food: peanut butter tortilla wraps, instant coffee and tea, carrots and peas, trail mix, pepperoni sticks, granola bar, chickpea and potato curry (in pouch), shin ramen, fruit to go
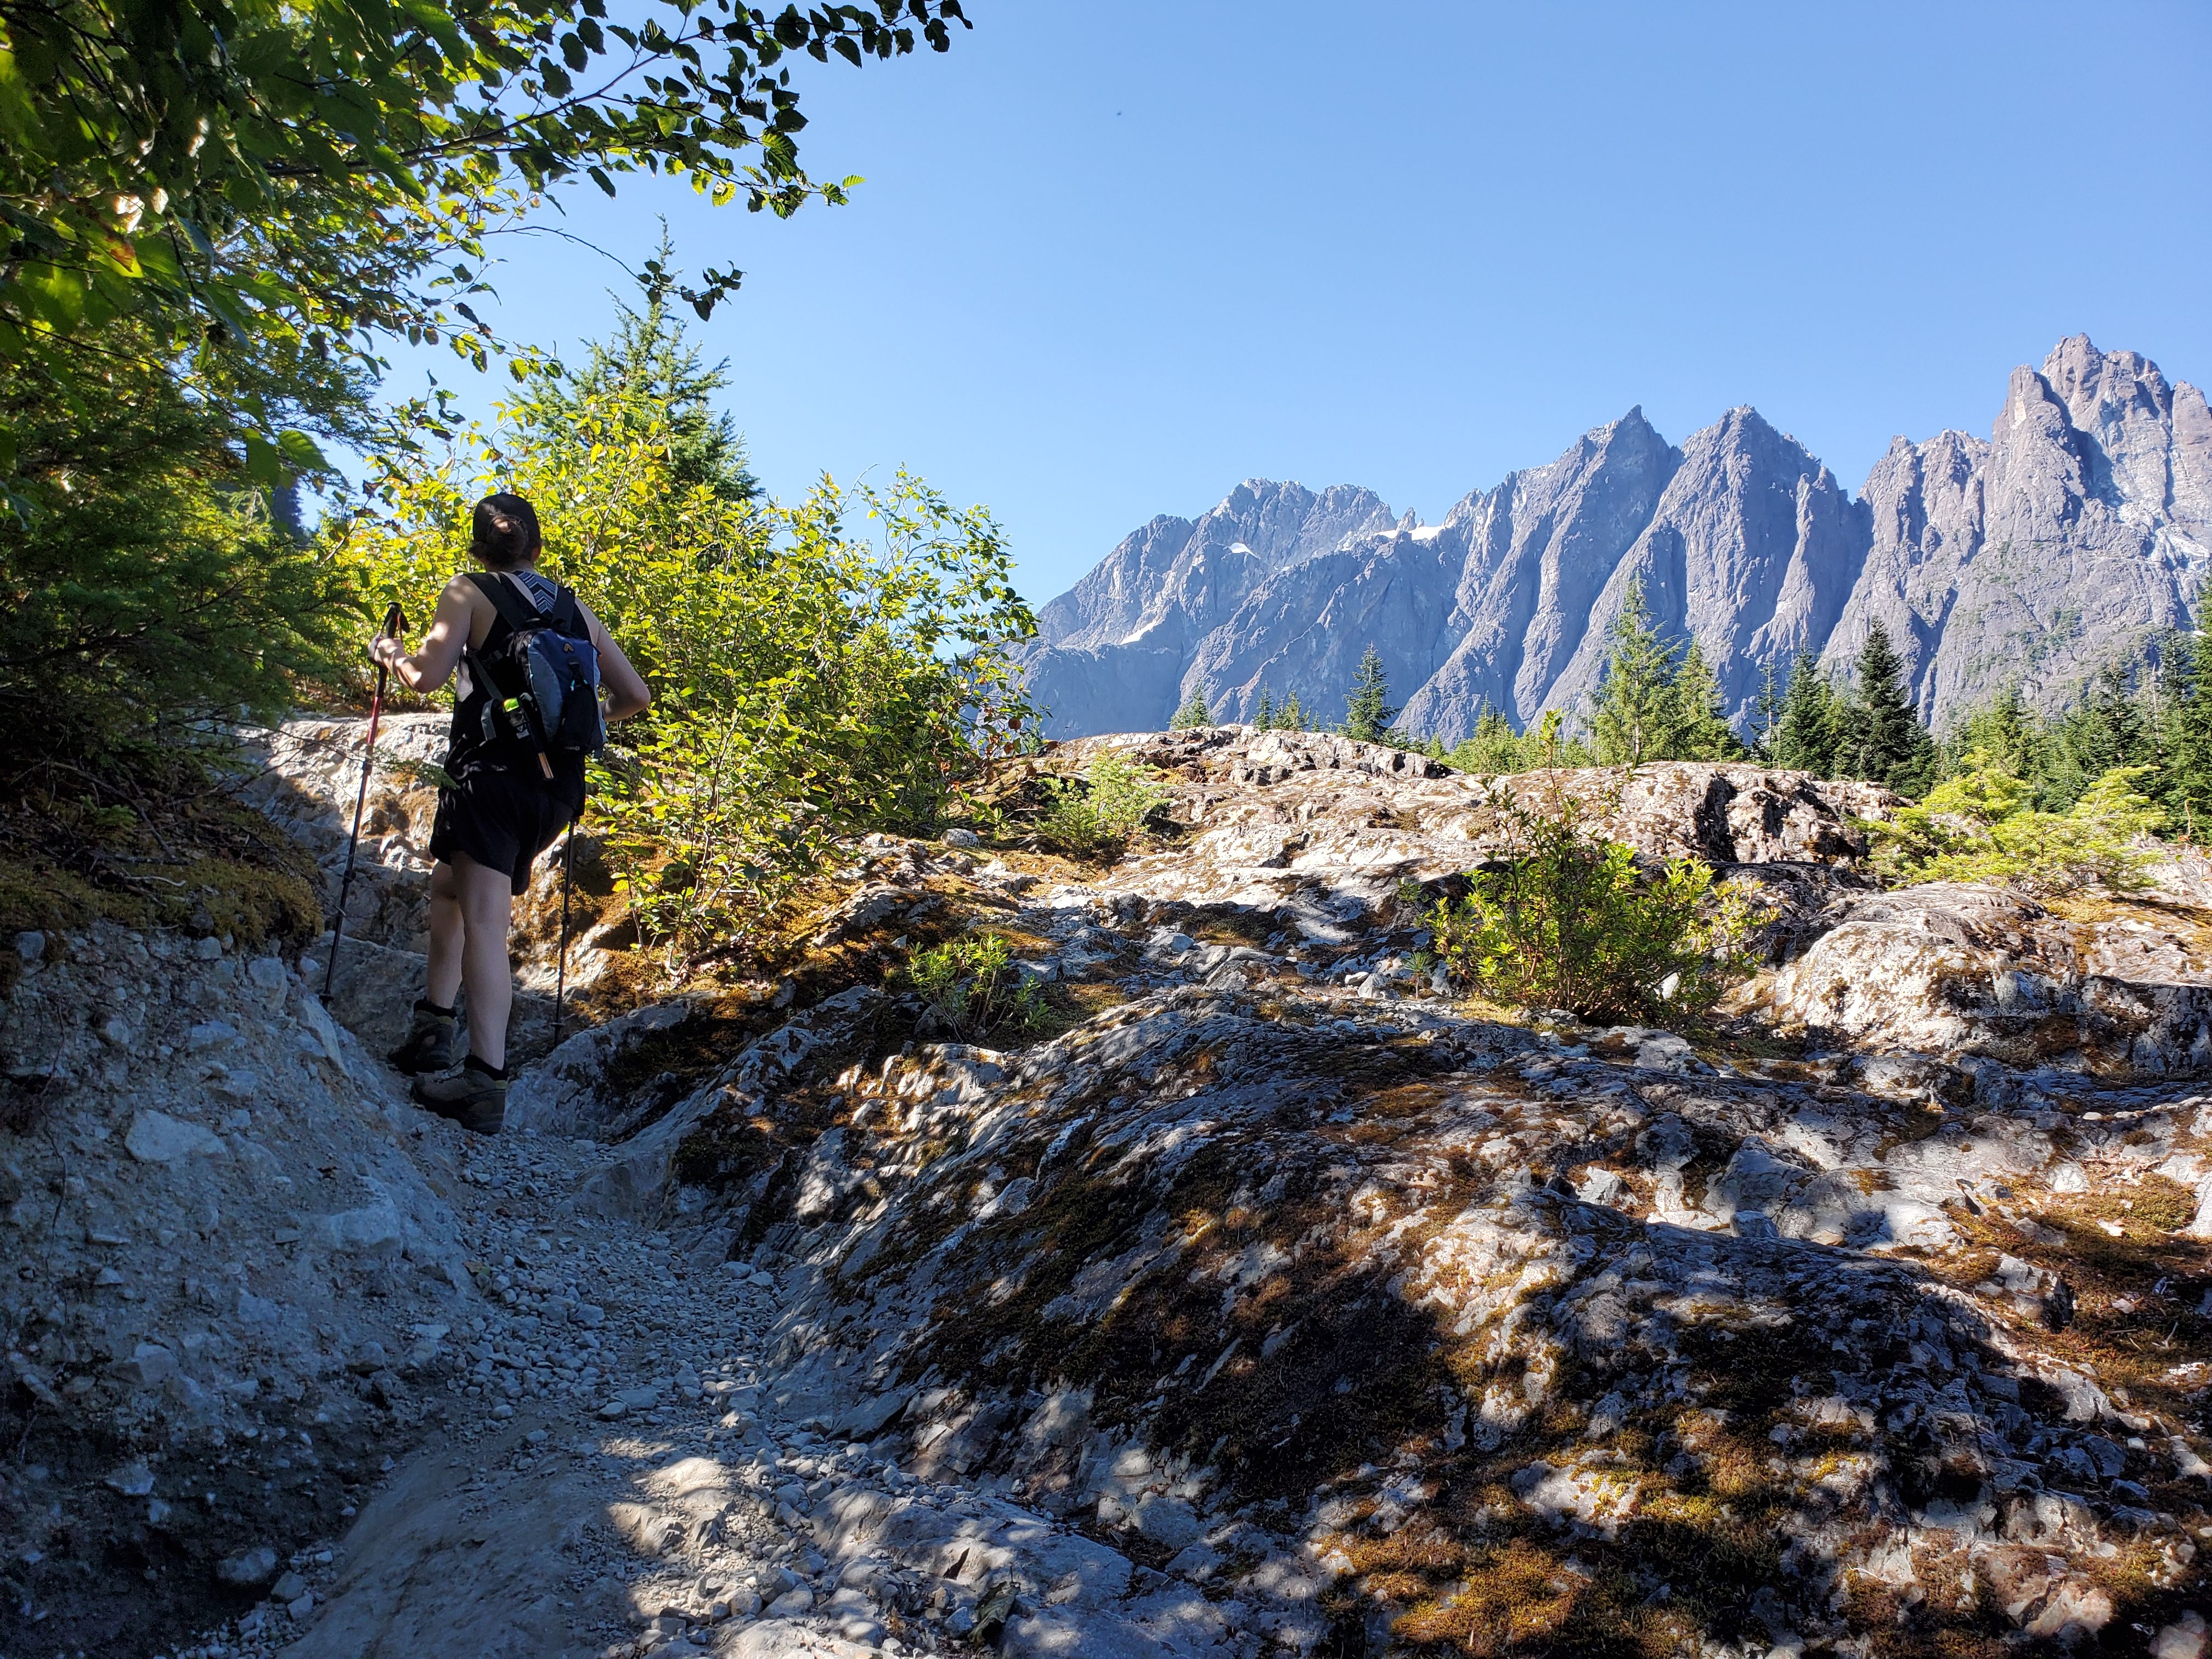
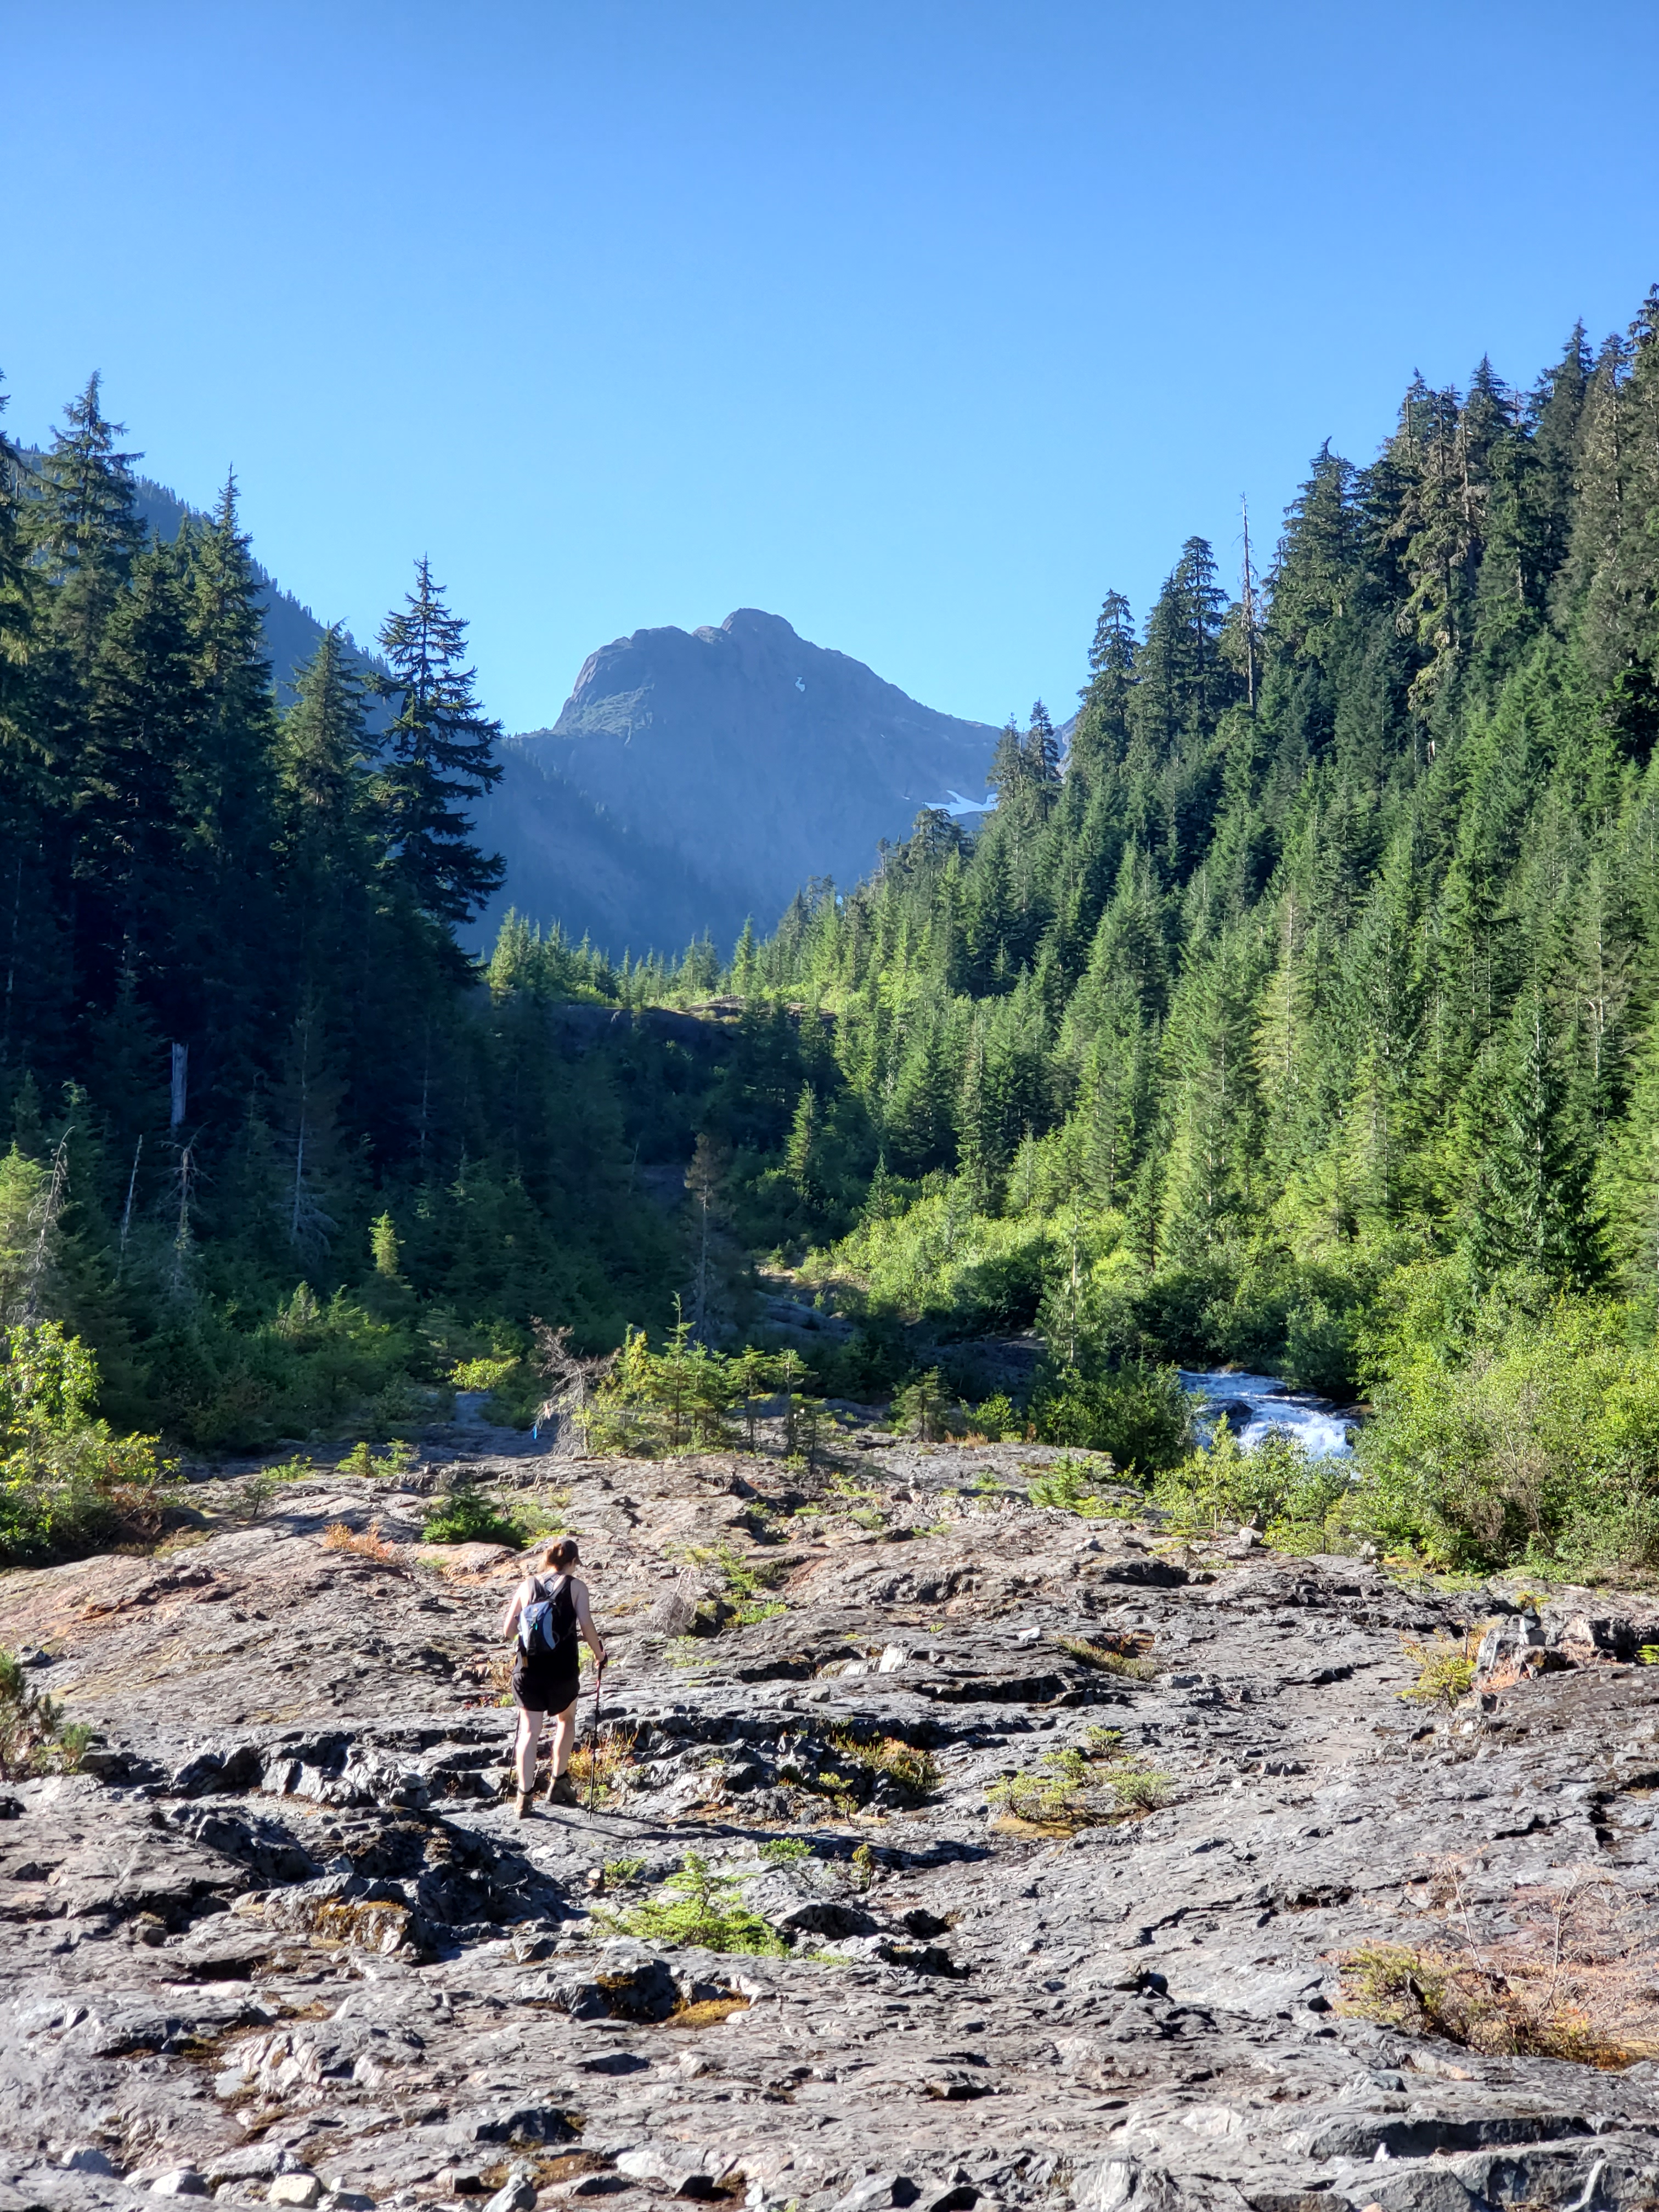
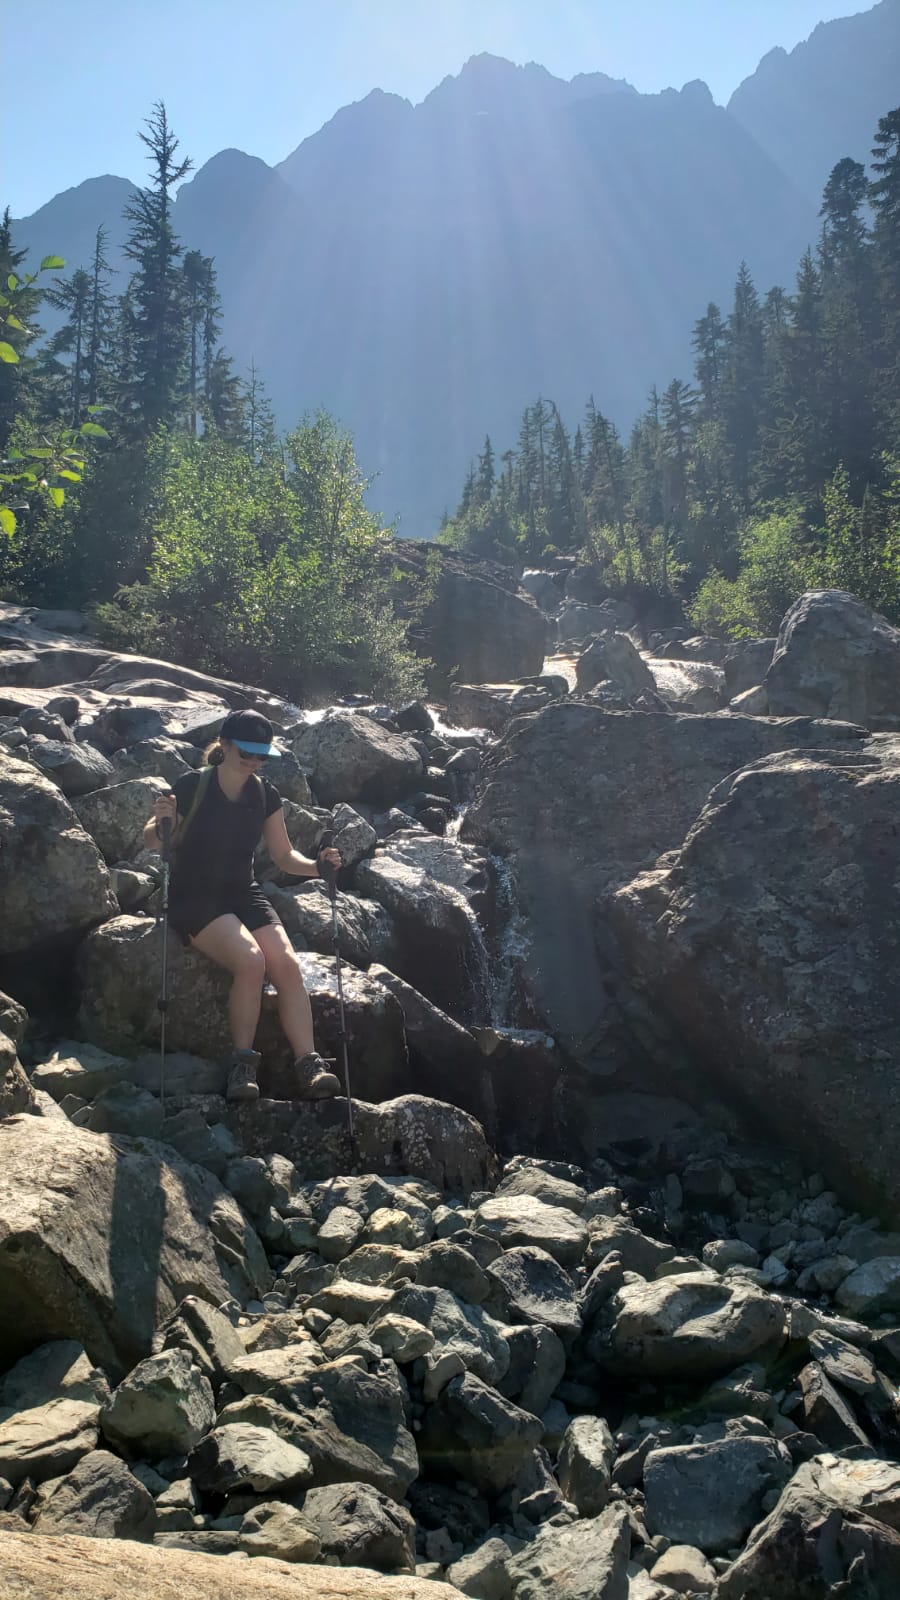
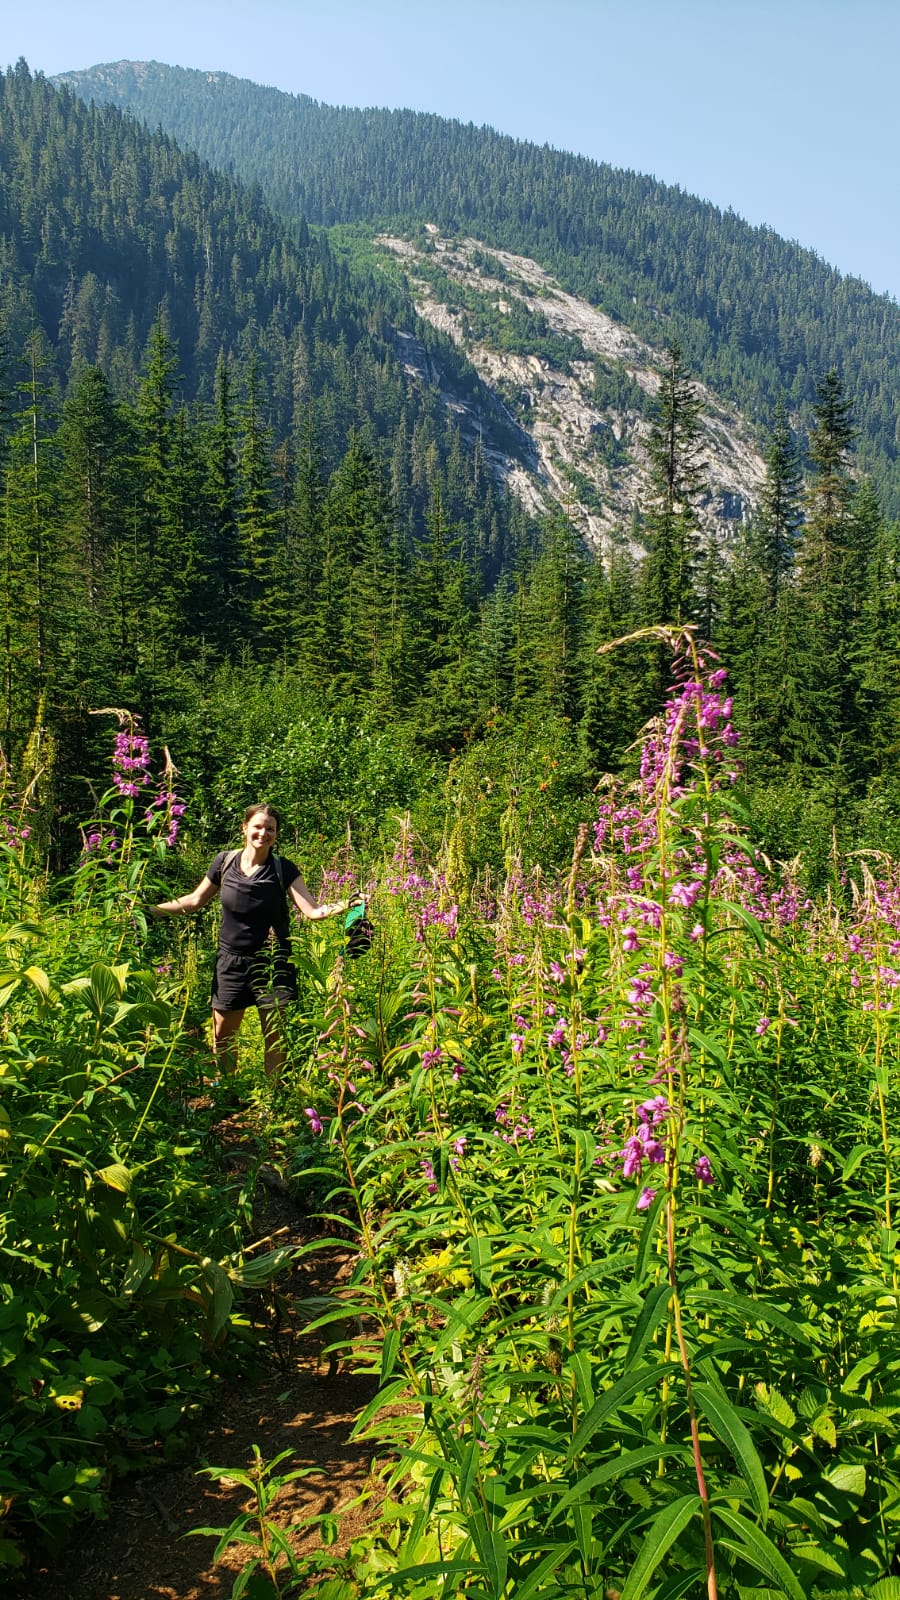
Hike: It was a nice hike to Landslide Lake. After crossing a bridge with a view of a large, powerful waterfall, you come to an expansive, open, rocky area. Rather than continuing straight after the bridge, veer right. Look for the blue ribbon up on the left side of the waterfall. There are also Inukshuks to guide you. The trail then follows the waterfall, weaving in and out of the forest. Lots of it felt a bit sketchy to me, walking over unstable, large gravelly chunks of rock, but these sections don’t last long. Regardless, the whole time you’re treated to remarkable views of Mt. Colonol Foster up ahead, above Berg Lake, and peaks and forests in the valley behind you.
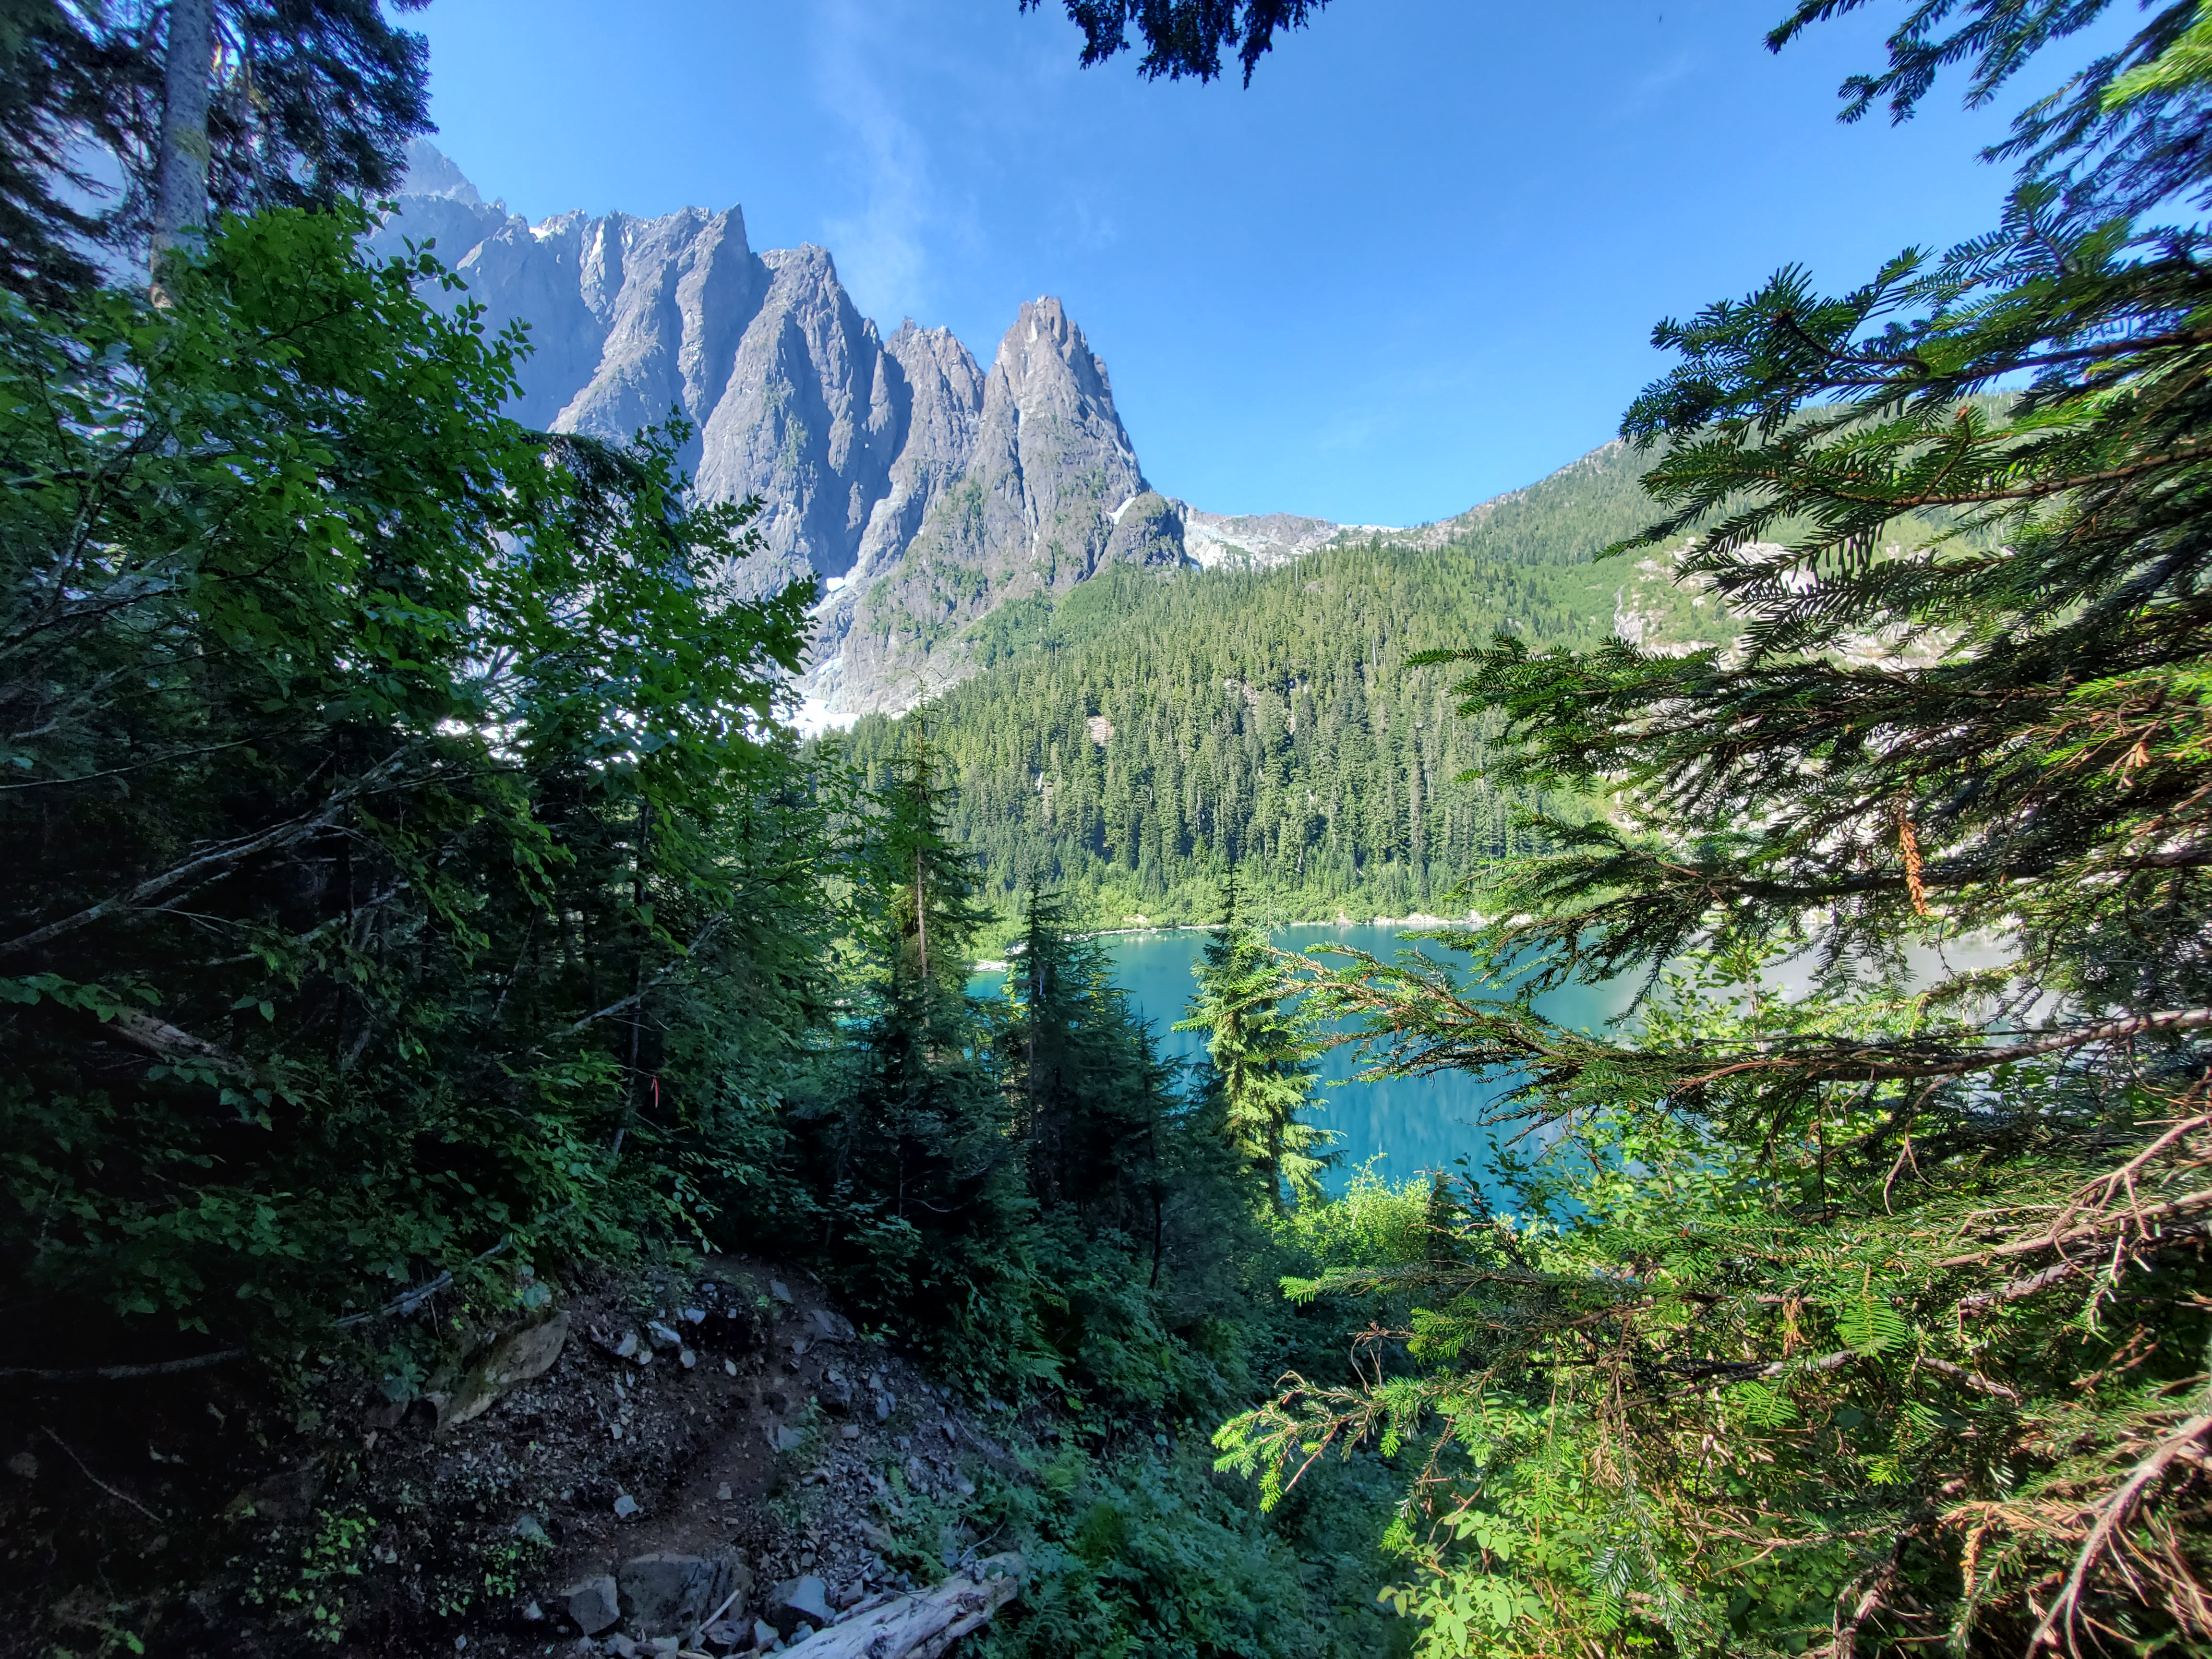
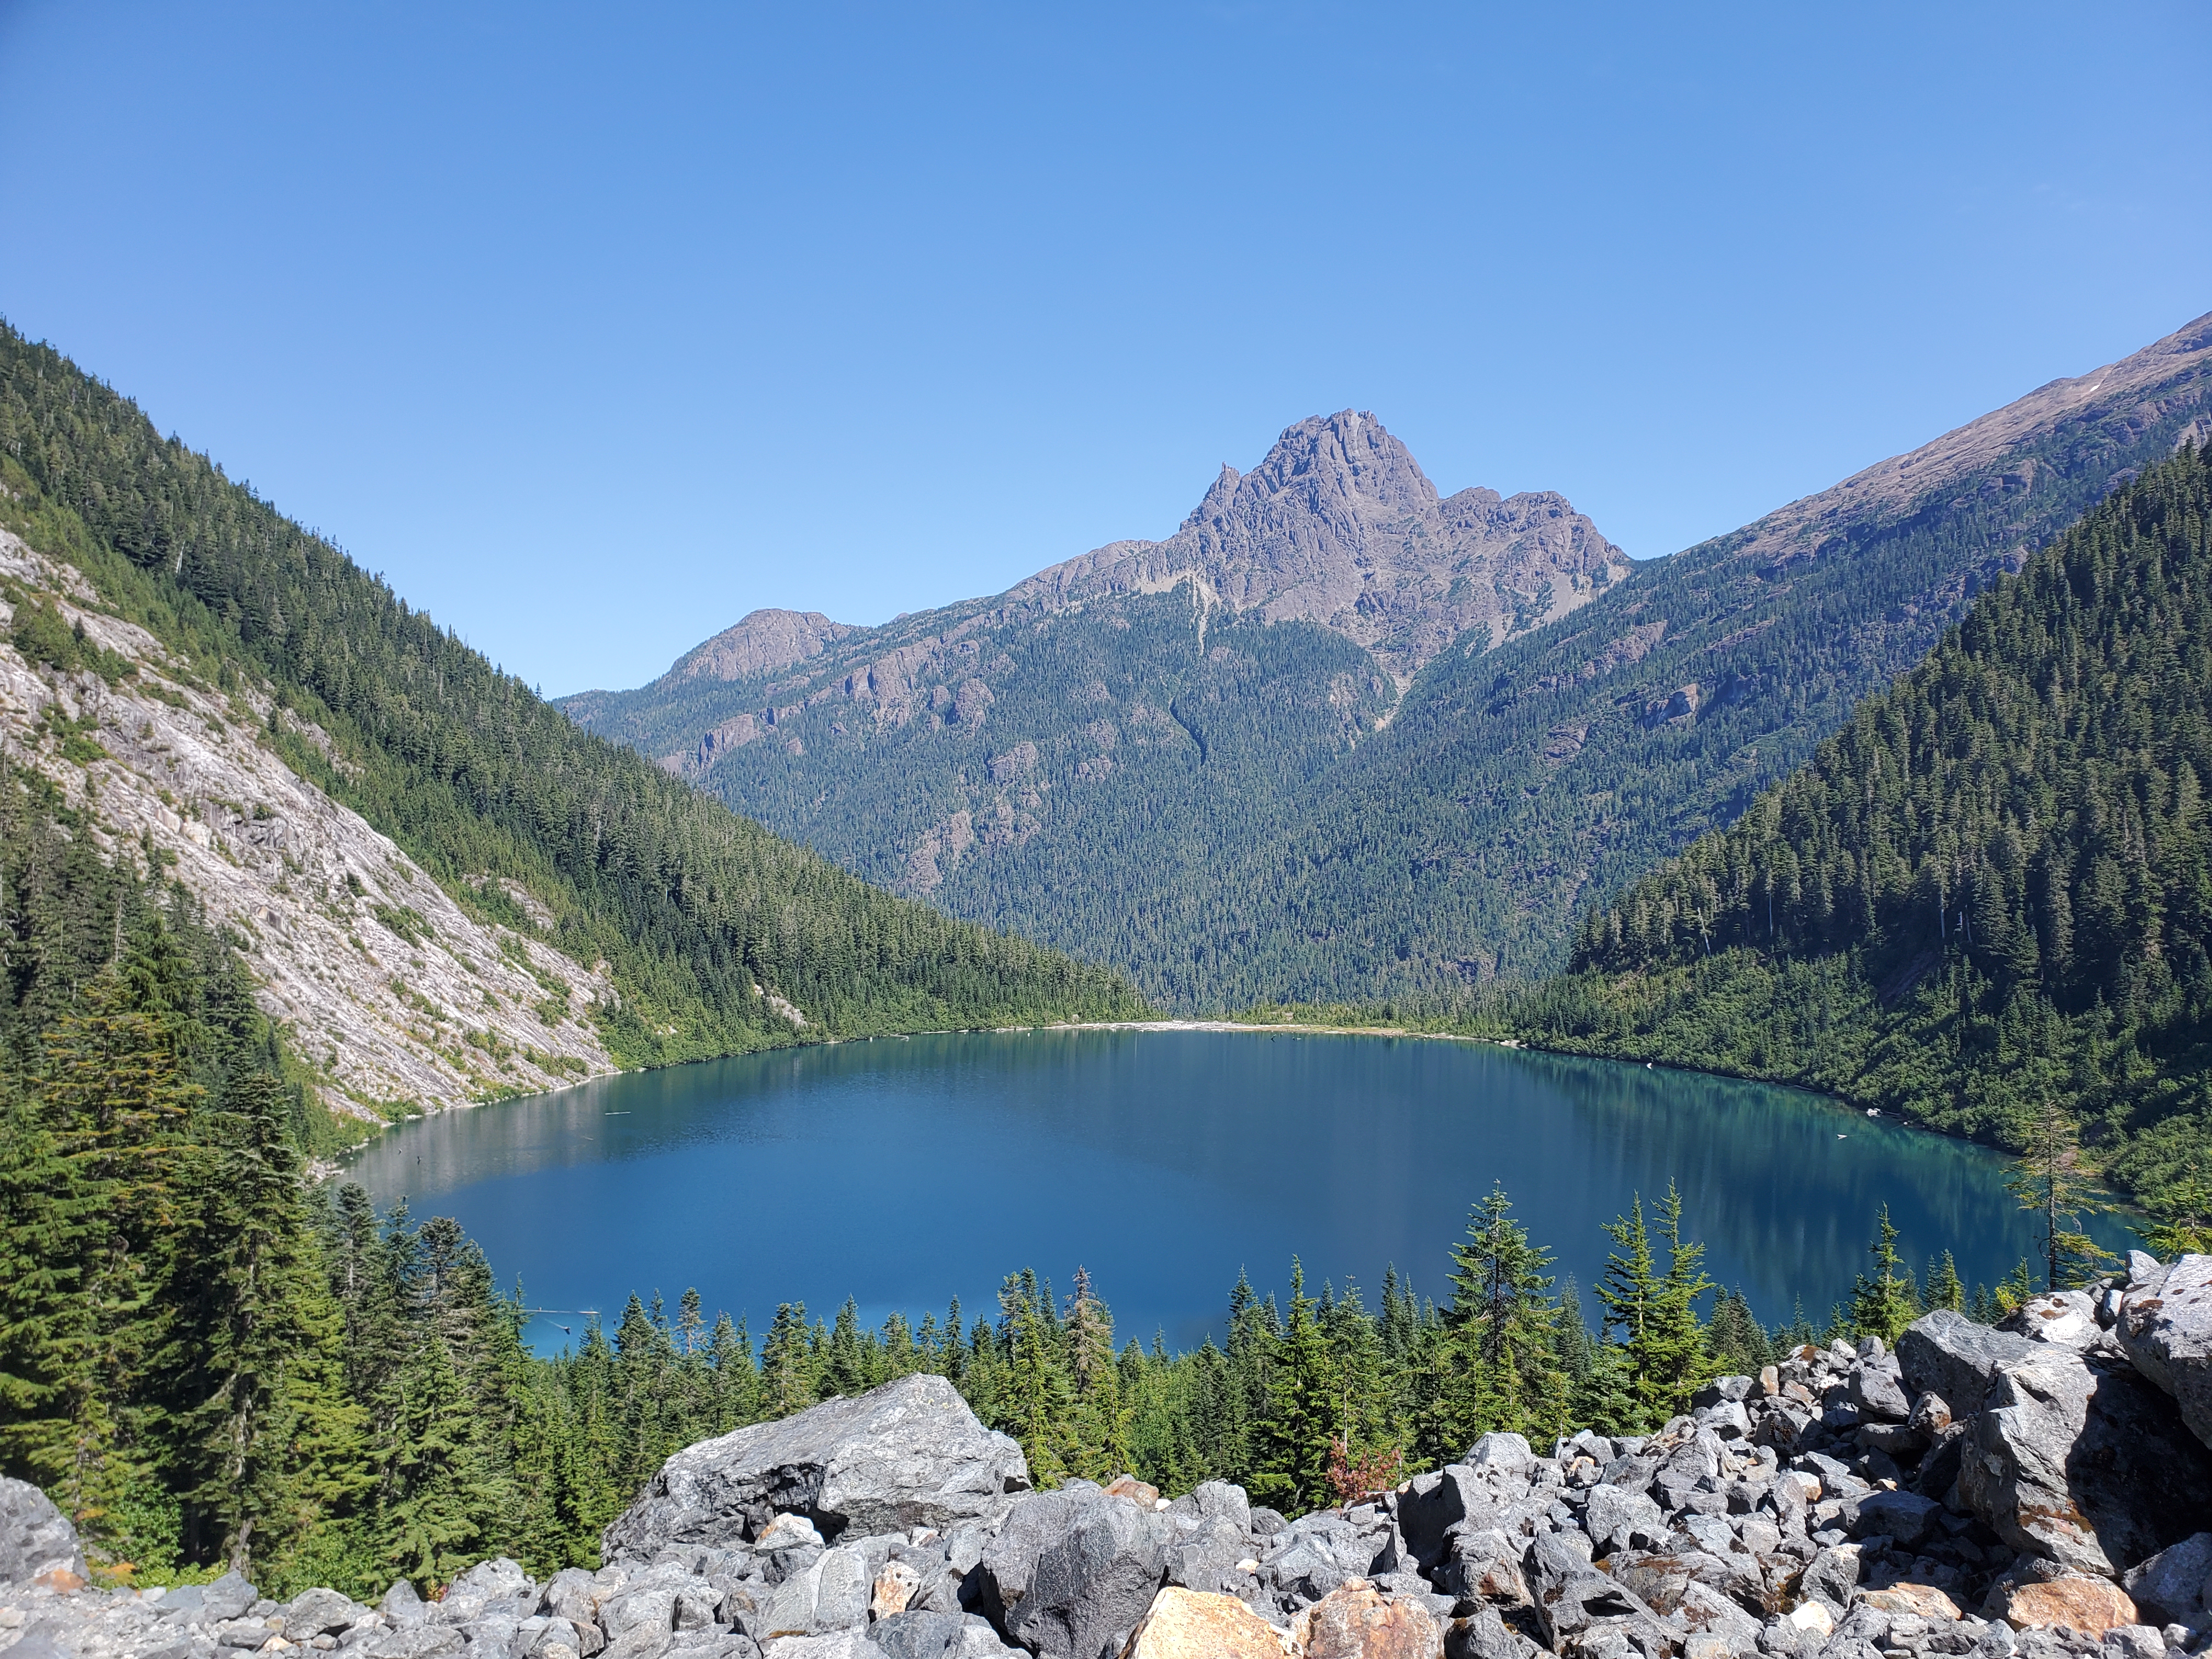
Eventually the trail descends towards Landslide Lake. The deep greens of the lake and the reflection of the surrounding trees make this an optimal spot to pause for some photos, a snack, and a swim if you’re keen. Our priority was to make sure we had enough time to spend at whichever lake we liked better, so we stopped briefly, and then continued on towards Berg Lake.
After Landslide Lake, keep following the blue ribbons. The trail continues into the woods, following the edge of the lake so you keep coming back to those turquoise views. There were lots more mildly sketchy bits on what I called slippy, unstable rocks (this was harder going down though).
Eventually you meet the waterfall at the other side of Landslide Lake and walk up alongside it… on the rocks, basically in the falls! I freaked out a bit going up – I didn’t believe this was the trail at first, even though Kyla was confidently following other hikers’ wet footprints over the rocks. It felt a little perilous stepping from rock to rock, water rushing past us (the area we hiked up was not, in fact, “rushing” past, it was a fairly calm part of the falls, and it was mostly just rocks! But in my anxious brain, we were courageously/apprehensively hiking up the middle of this mighty waterfall).
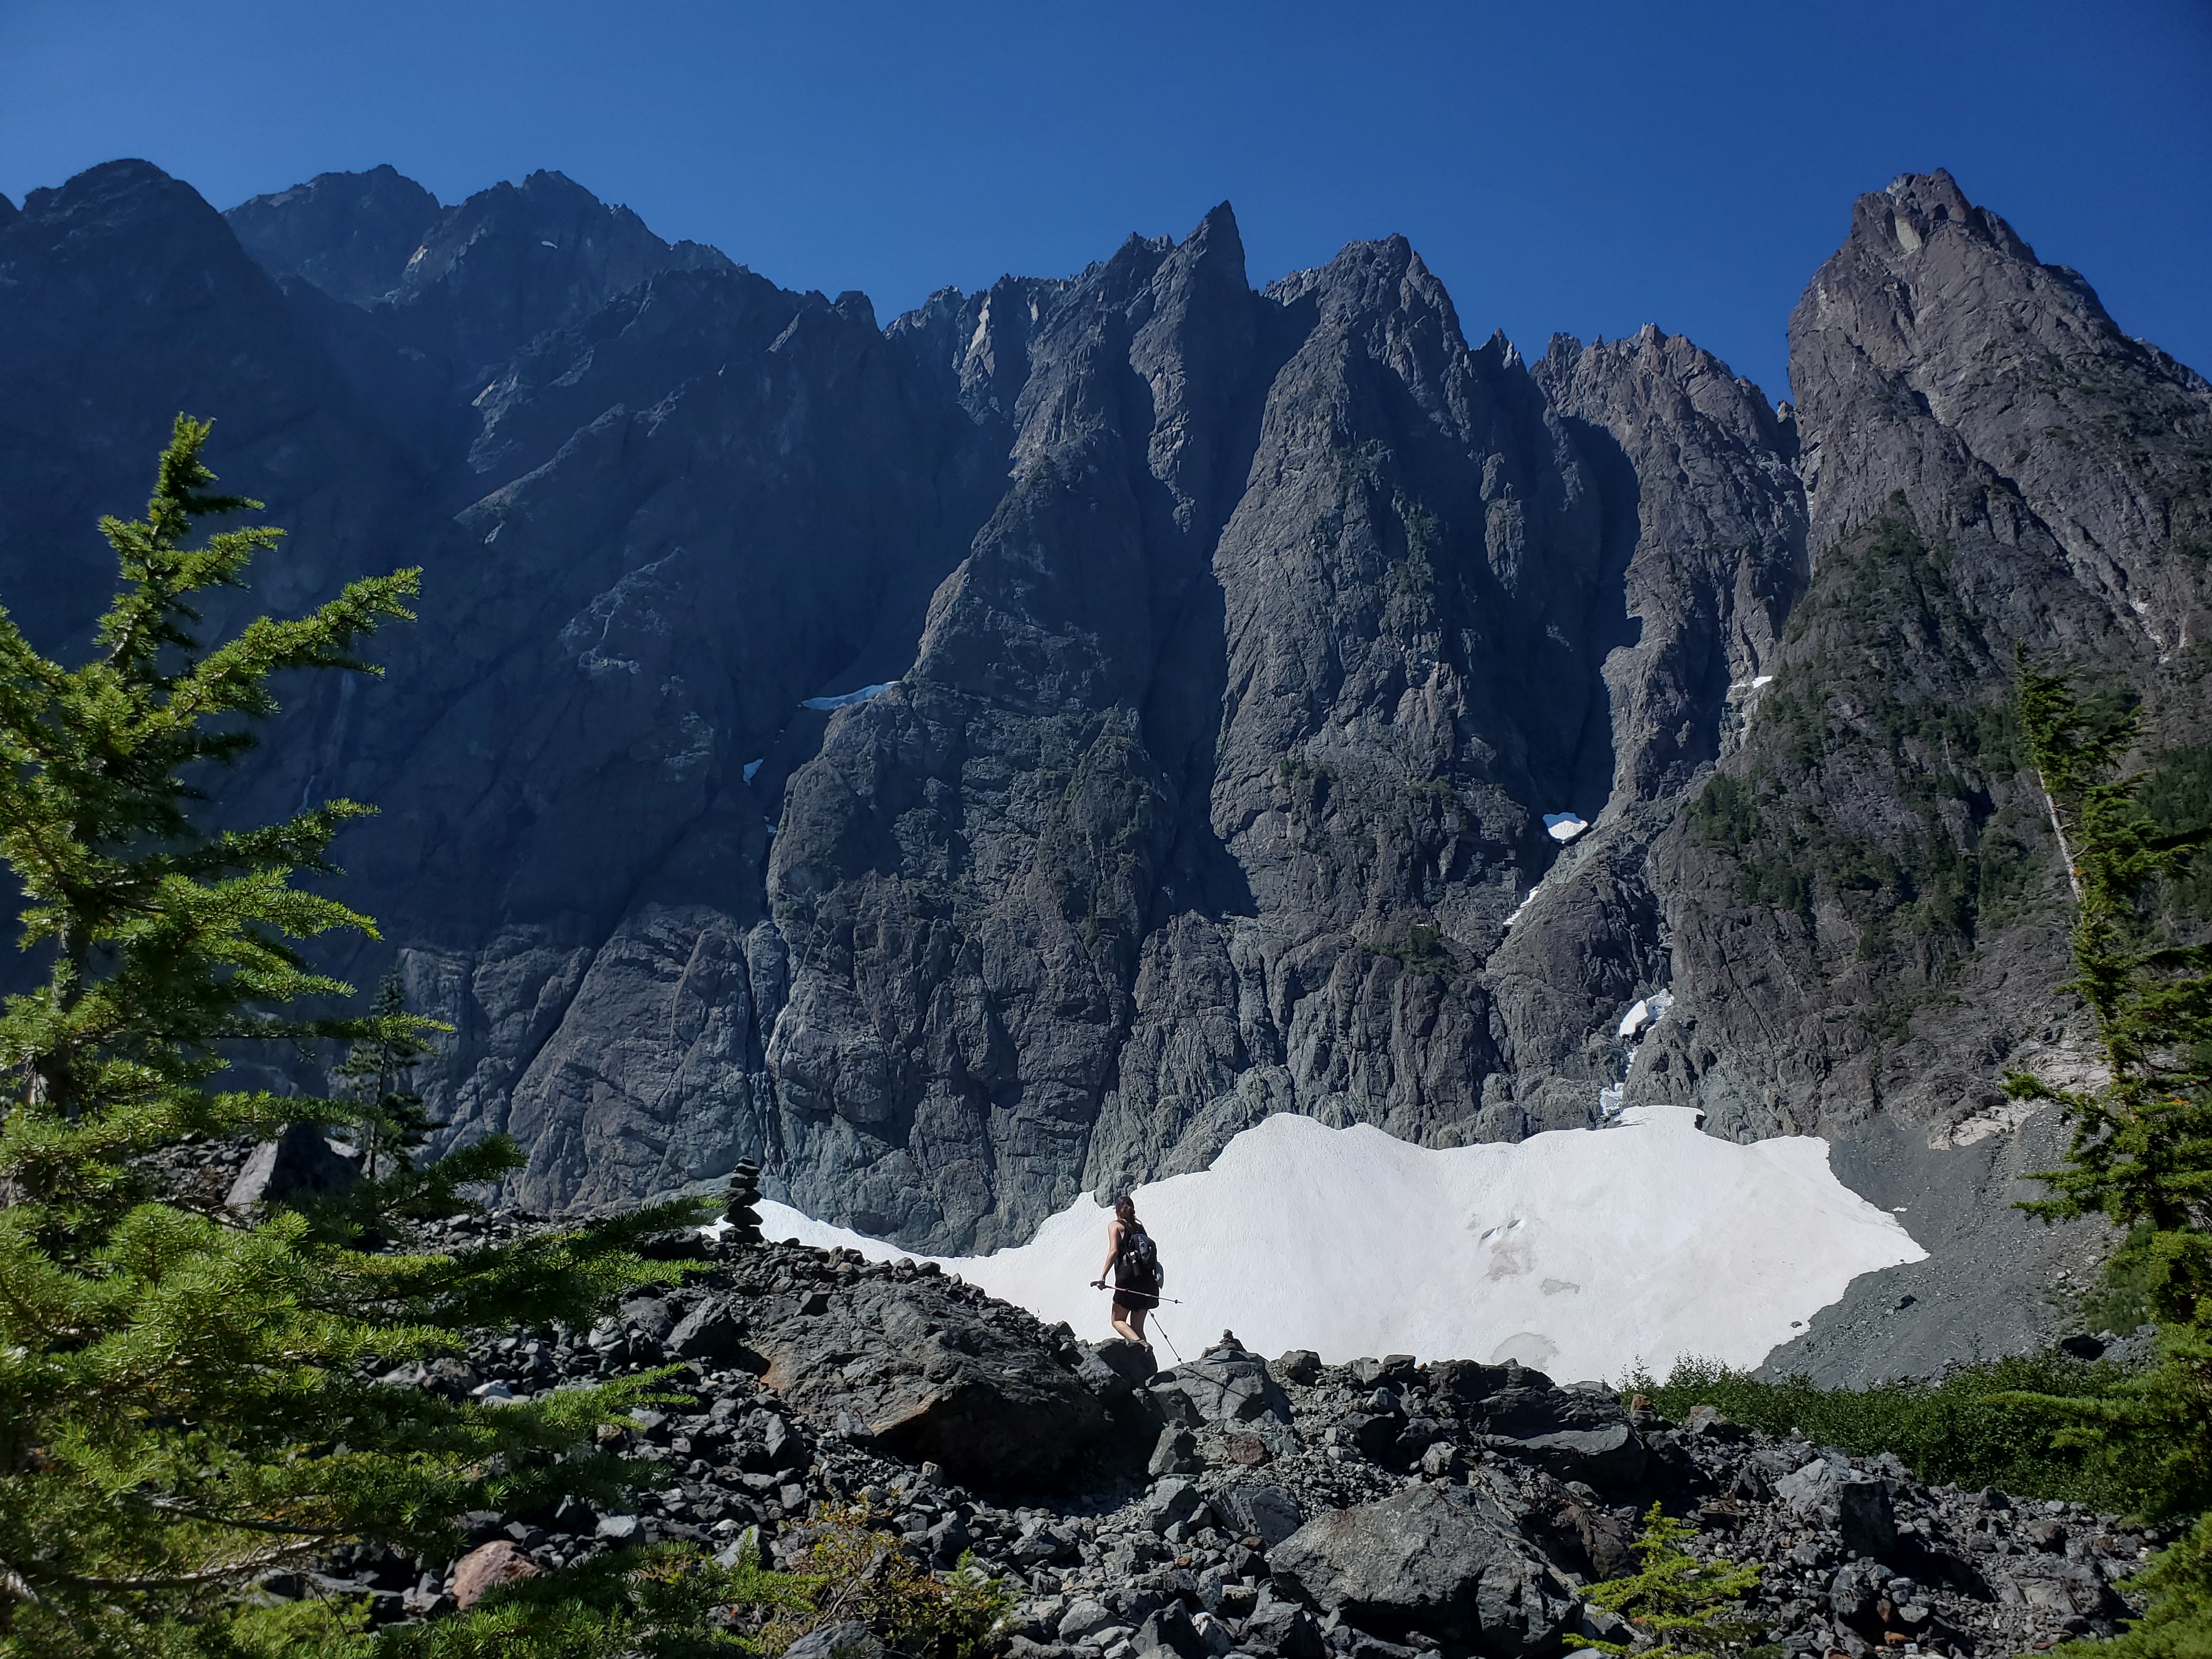
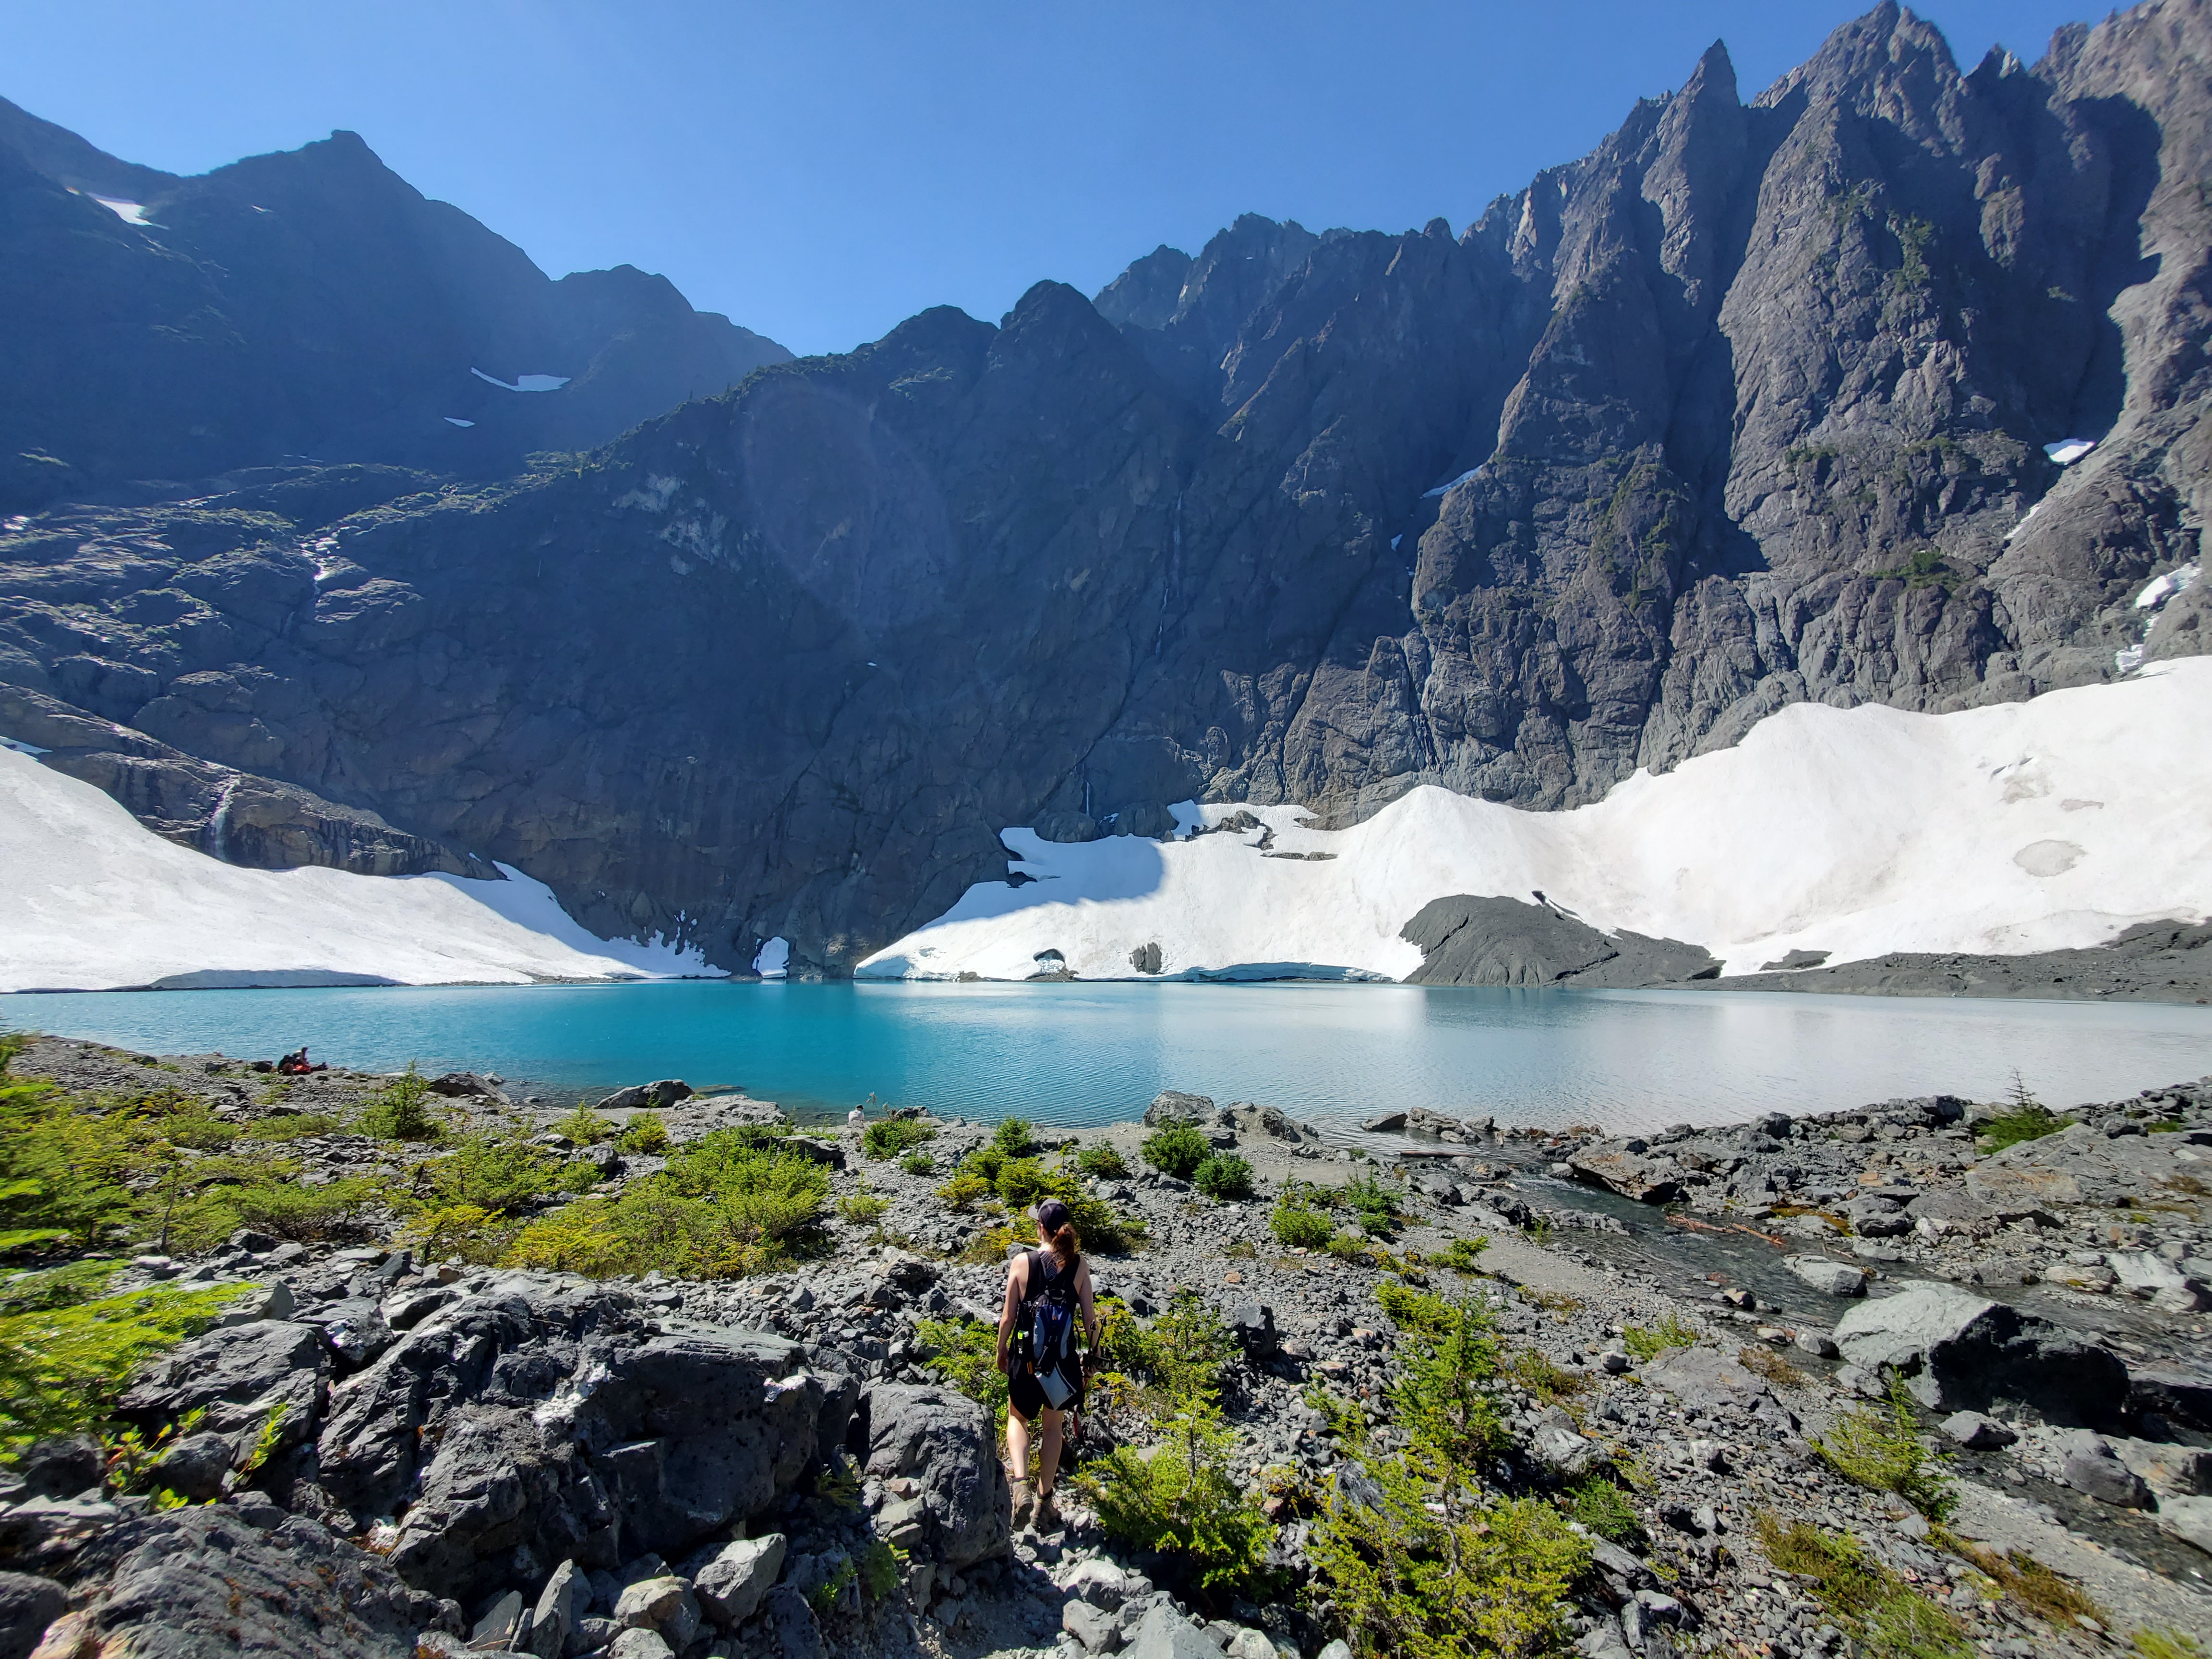
We stopped a couple of times for tasty salmon berries. In the heat and at our pace, 2 couples passed us. Finally, feet very much in pain, sun very hot, we came up to another wide, exposed rocky area – this time we were much higher up, which offered an awesome view of Landslide Lake down below. Inukshuks guide you over rocky ridges, bringing you closer to the snowy peaks of Mt. Colonel Foster. Finally, over a ridge, the trail opens up to the deep glacial blues of Berg Lake. I was in awe. It looks just like what people flock to Jasper and Banff for, and I had no idea we had lakes like this on Vancouver Island.
We were there on a Friday, and it was pretty quiet. There were two couples there and another couple of people arrived shortly afterwards, but we were able to grab a semi-private spot between some large boulders. Be aware: there’s no shade anywhere, except for the tiniest patches under the rocks, so be prepared with sun protection!
A dip in the glacial lake is obviously a great reward for a sweaty hike! (Though if you’re like me it will take you approximately 20 minutes to work up the courage just to jump in and out quickly!) (Then I tripped and fell in again.) The “beach” and bottom of the lake are made up of tiny, sharp rocks, so I’d recommend bringing some sort of water shoes or at least flips flops to protect your achy feet when you peel off your hiking boots. For sensitive/recently-lasered eyes like mine, I’d also recommend polarized sunglasses.
If it’s hot out, you’ll defrost quickly in the sun! We enjoyed some snacks, sun, and lots of sunscreen re-application. I did a Mr. Bean-style outfit change so that I could dry my bathing suit out faster, but of course got so hot before we left that I had to splash water over my entire body again anyway! When I couldn’t deal with the sun anymore, I stuck my head in the *tiny* patch of shade under one of our rocks. Works in a pinch!
Make sure you save your phone/camera battery for this place! After a few hours of lounging and photo-taking, we took a million more pictures on our way out, where you get 360 degree views of both lakes. I enjoyed walking down the waterfall on the return journey, since I knew what was coming. For us, the hike back to the campground surprisingly took a few minutes longer than the hike up: the heat was really bearing down and we probably got too much sun at the lake- we had to stop for water a lot, and snacks. We also stopped for a quick dip at Landslide Lake.
Overall, the walk down was nice but there were lots of those “slippery, sketchy bits” – my tip would be to get low! We hiked up to the lakes with poles, but most people we passed didn’t. For me it helped on the way down.
We finally made it back to camp at 5:30! I was so gross and sweaty and wanted to join Kyla for a dip in the river, but (in my mind) it was as cold as the glacier water! I settled for a facecloth bath. A big dinner will be necessary and well-deserved after this day of hiking! I got sooo excited about my shin ramen (the spice level always makes Kyla cry but luckily we had 2 different meals).
The park ranger camp by on our second night to collect our backcountry permit stub; I imagine we could also have left it on our tent.
Day 3: Camp #2 to Trailhead
Timing: Total: 3 hours 10 minutes. Camp #2 to Camp #1: 1 hour, Camp #1 to parking lot: 2 hours 10 minutes
Food: via coffees, peanut butter tortillas, applesauce, protein bar, bugles, trail mix (chocolate melted in it at the lake, and re-solidified overnight, YUM)
The hike down went much faster for us than the hike up. We woke up not too early, made via coffees and ate tortillas, and… my period started full throttle. Probably the best day this could have happened, tbh. I was anxious to get out since when the sun hit around 9 it was already really hot. We had to lay out our dewy fly in the sun, and our clothes on the clothesline were still a little wet, so we packed up everything else and filled water bottles to give our stuff more time to dry. Unlike on the way up, we didn’t fill our extra water bladder, since we knew we could fill up at Campground #1. Without that and with much less food, sunscreen, and fuel, our packs were significantly lighter.
It took us half the time to get down to Camp 1, and in our tradition of getting excited when we see “landmarks” (i.e. signs of campsites/ parking lots/ our destination) we got soooo excited when we saw the outhouse! We stopped for “lunch” (a protein bar and bugles), filled our water bottles one last time, and moved on quickly.
Back en route, we were energized and motivated to get back down to the trailhead in 2 hours! Lots of downhill made it easier, and it was different than other backpacking hikes I’ve done because we hiked back down the same trail and remembered some landmarks. Kyla remembered that shortly after the first place we stopped on our way up there would be a big uphill – it was close to the beginning/end of the trail but MAN WAS IT A LONG UPHILL! I had not stored enough energy and it was rough! Again – so hot – my thermometer said 28 degrees in the shade. Finally we reached the initial switchbacks I remembered (going down this time) and we practically ran! We heard highway, saw powerlines, then FINALLY the outhouse! We were sweaty, dirty, and downright ecstatic to have made it down so quickly (in just 10 minutes over our goal time).
FYI: The trail is dog friendly: We saw several hikers with dogs. There were lots of people hiking up on the Saturday; however, we could tell by their packs that lots of them were day trippers. It seemed like there we enough sites at each campground that you shouldn’t have to worry about getting a site, although I would caution against going anywhere on Vancouver Island/Gulf Islands without a booking on a long weekend.
What to Pack:
I’d definitely recommend bringing the following. Let me know what you would add!
- Lightweight tent, mattress, and (if you’re bougee like me) inflatable pillow
- Lightweight, compressed sleeping bag
- Water bottle and water filter (we’ve had a good experience with Sawyer)
- Hiking Poles
- Hiking boots and flip flops for when you want to peel those boots off at your campsite
- Food in a waterproof bag, rope if you’d prefer to tie up your food rather than use a cache
- Poop trowel (there are outhouses at the trailhead and campsites, but nothing at the lakes)
- If needed, menstrual cup (love my diva cup), wipes, pads, advil, and a ziplock bag so you can pack out your trash
- Ask me if you want specific clothes recommendations, but definitely bring layers. It gets chilly at night. I slept in layers and could have used a toque. I use packing cubes everywhere, including on hikes
- If you’re sensitive to light like me, I have this dorky thing I love called a Nitehood. It’s basically like an old school night cap, but made with bamboo fabric. Yes, I know I’m bougee.
- Rope to use as a clothesline
- Bathing Suit
- Sunscreen, hat, sunglasses, SPF chapstick
- Bug spray – there’s a swampy section by the trail before the first campsite
- Camera, phone, donwloaded podcasts or a small book, headphones, journal, cards
- Pot, lightweight stove (we use a Triangia one – overall it’s great and packs down VERY small, though we have had issues with not getting the lid back on correctly and it burning through fuel relatively quickly), fuel, cloth/scrubber, camp suds or biodegradable soap
- Quick dry towel
- Some sort of map or location resource – this trail is fairly well marked, as long as you follow the right colour ribbons. I had read mixed reviews about how well-marked it was, so I got an All Trails subscription so that I could download the maps (there’s no service on this trail). Unfortunately, my maps disappeared from my phone. Luckily, I had taken a bunch of screenshots of the trail before I got the subscription, so I would have been able to refer to them if needed. We also had a cheap compass, and/or you can buy maps of Strathcona Park if you want to be extra safe.
- First aid kit – we made good use of our blister band-aids
- Cash/pen for backcountry permit
- Headlamp or flashlight and extra batteries
- Garbage bag
- Bowl, mug, multipurpose utensil
- Bear Spray
Enjoy your hike! Let me know if you have any questions.

1 Pingback